LDAP Login
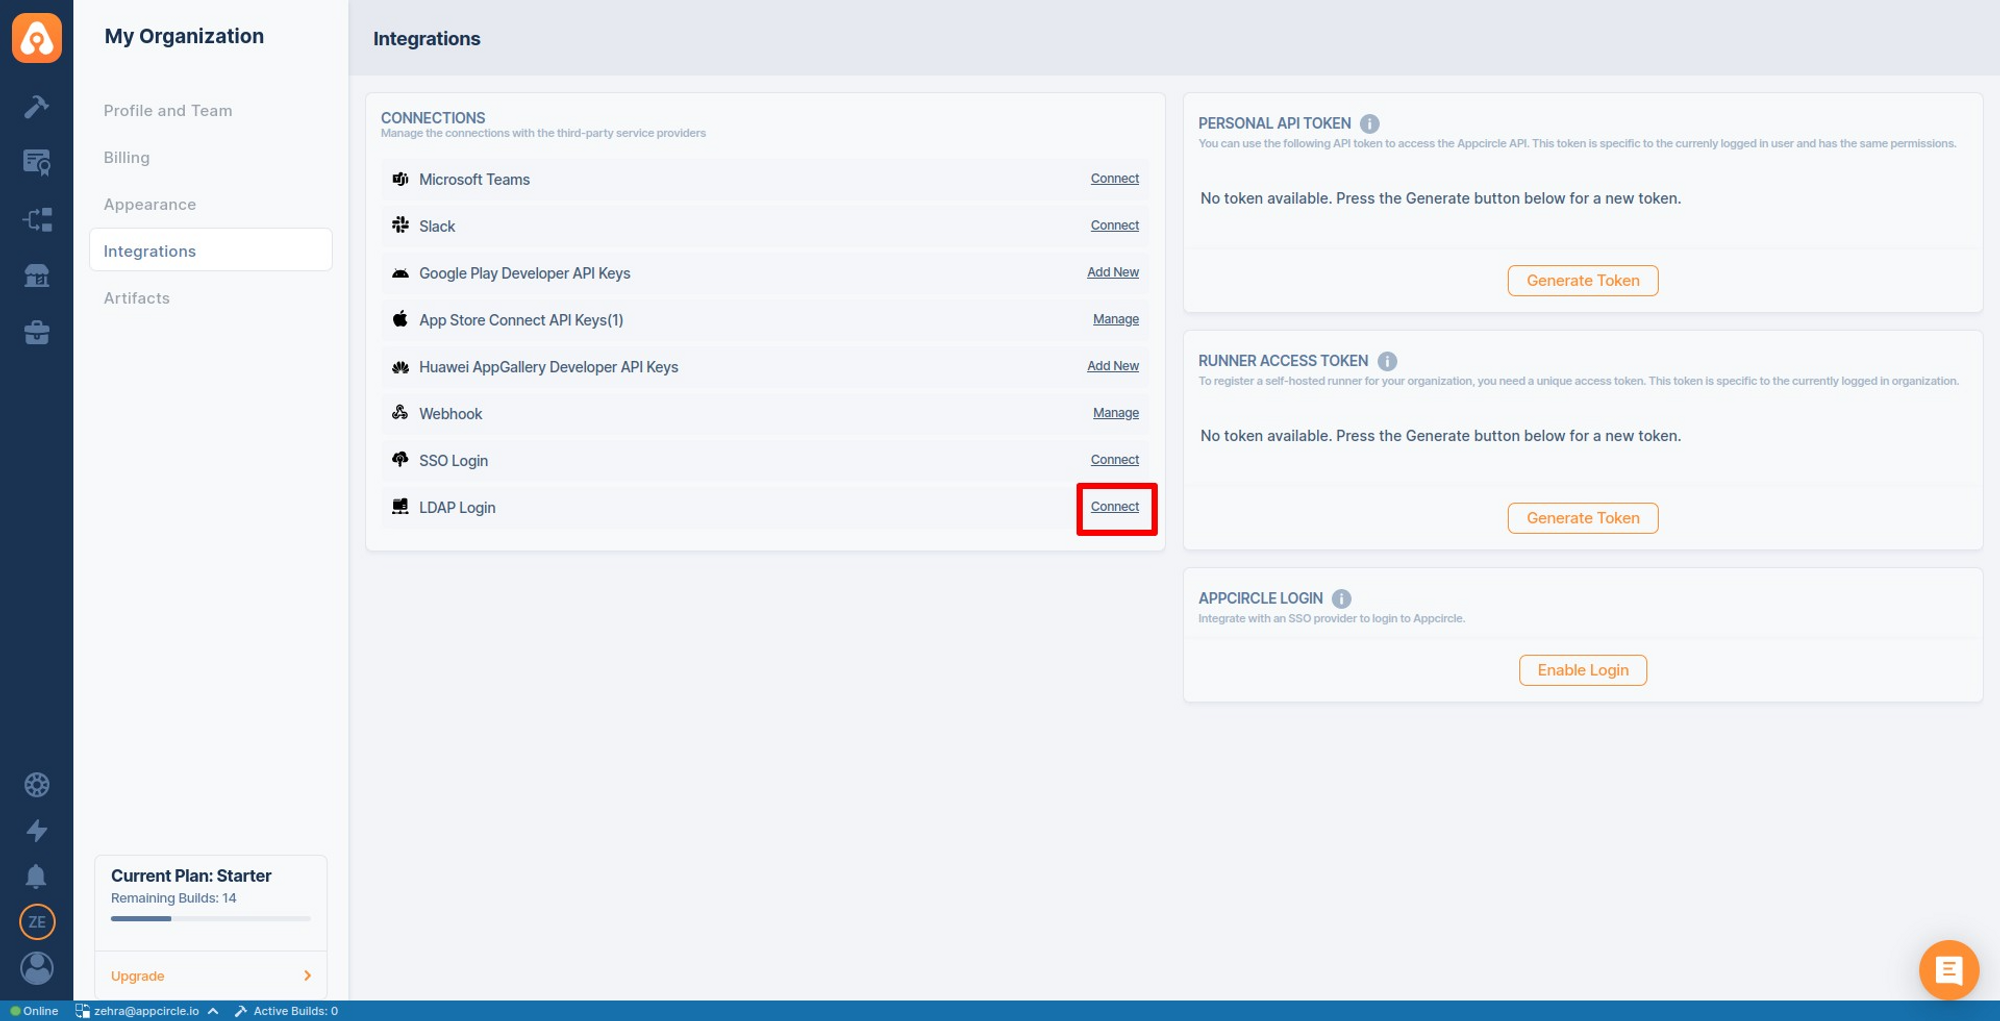
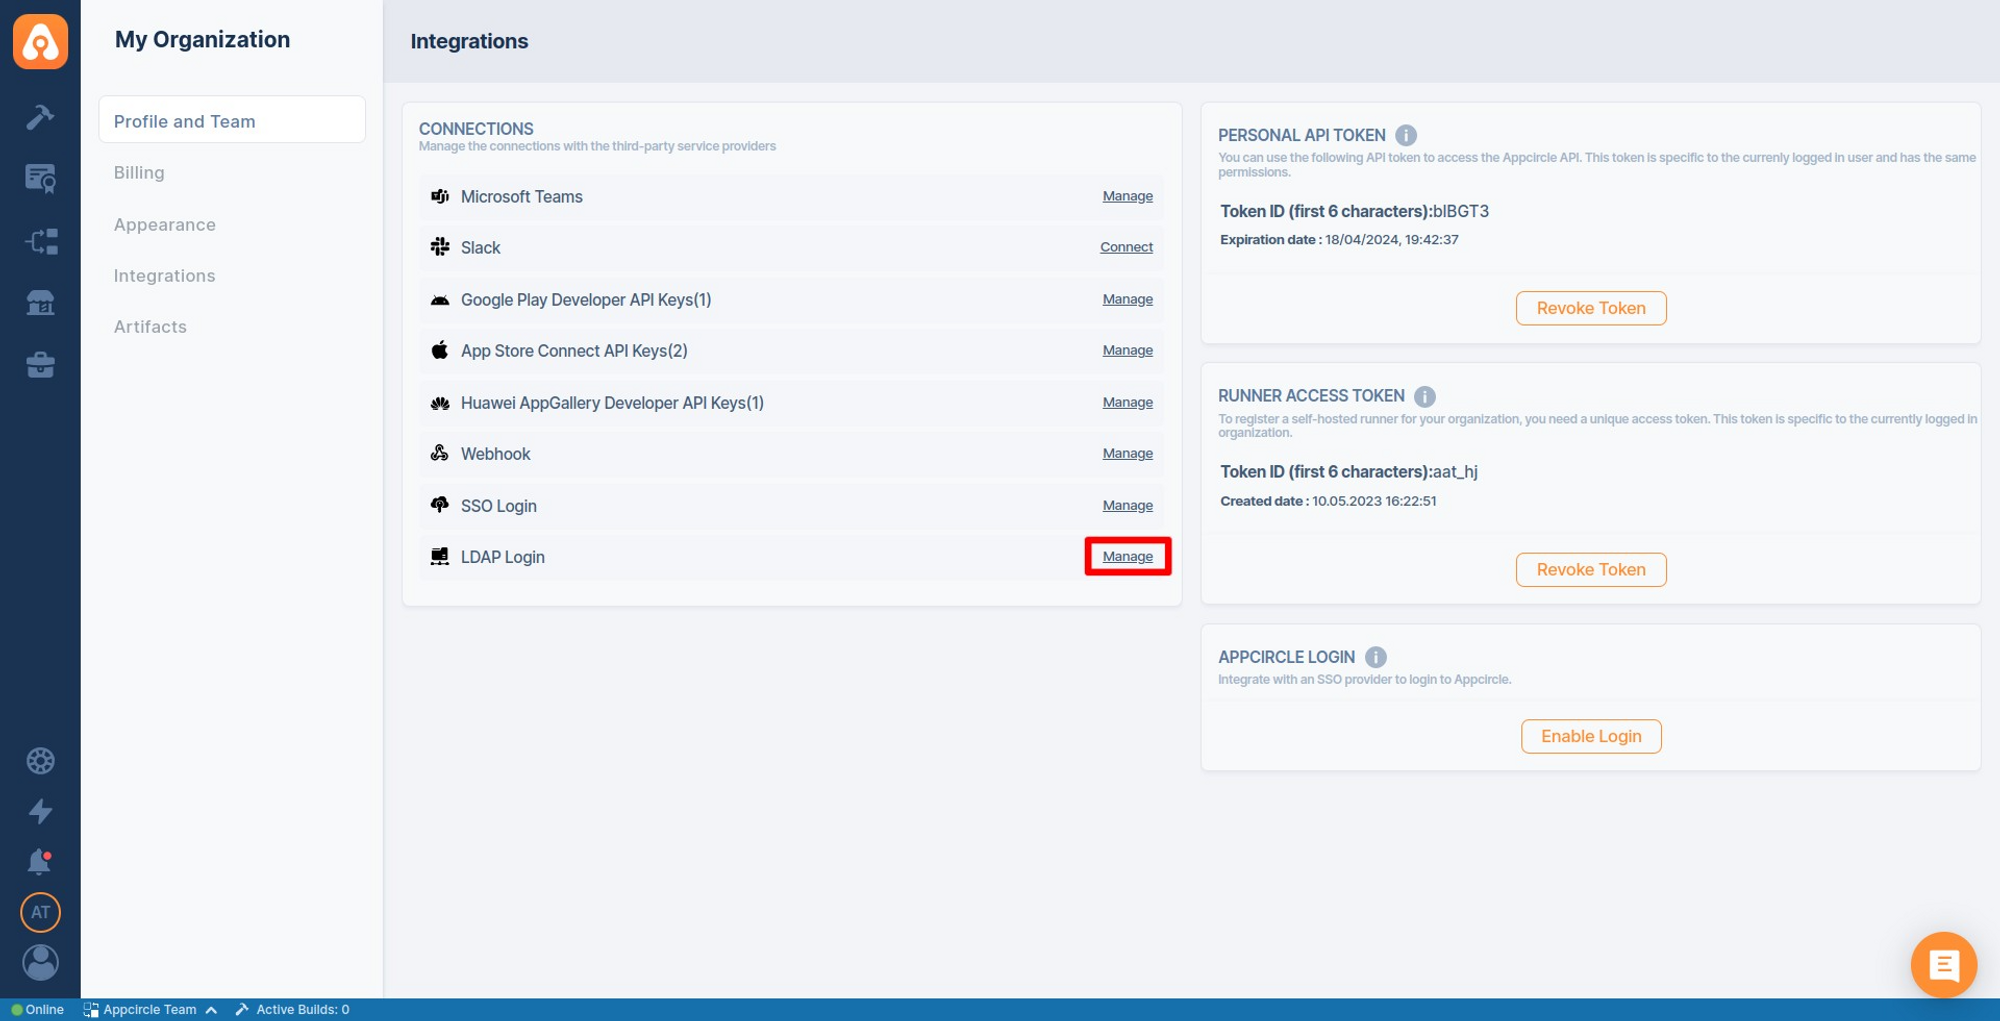
To start, go to My Organization > Integrations screen and press the Connect button next to LDAP Login under the Connections section.
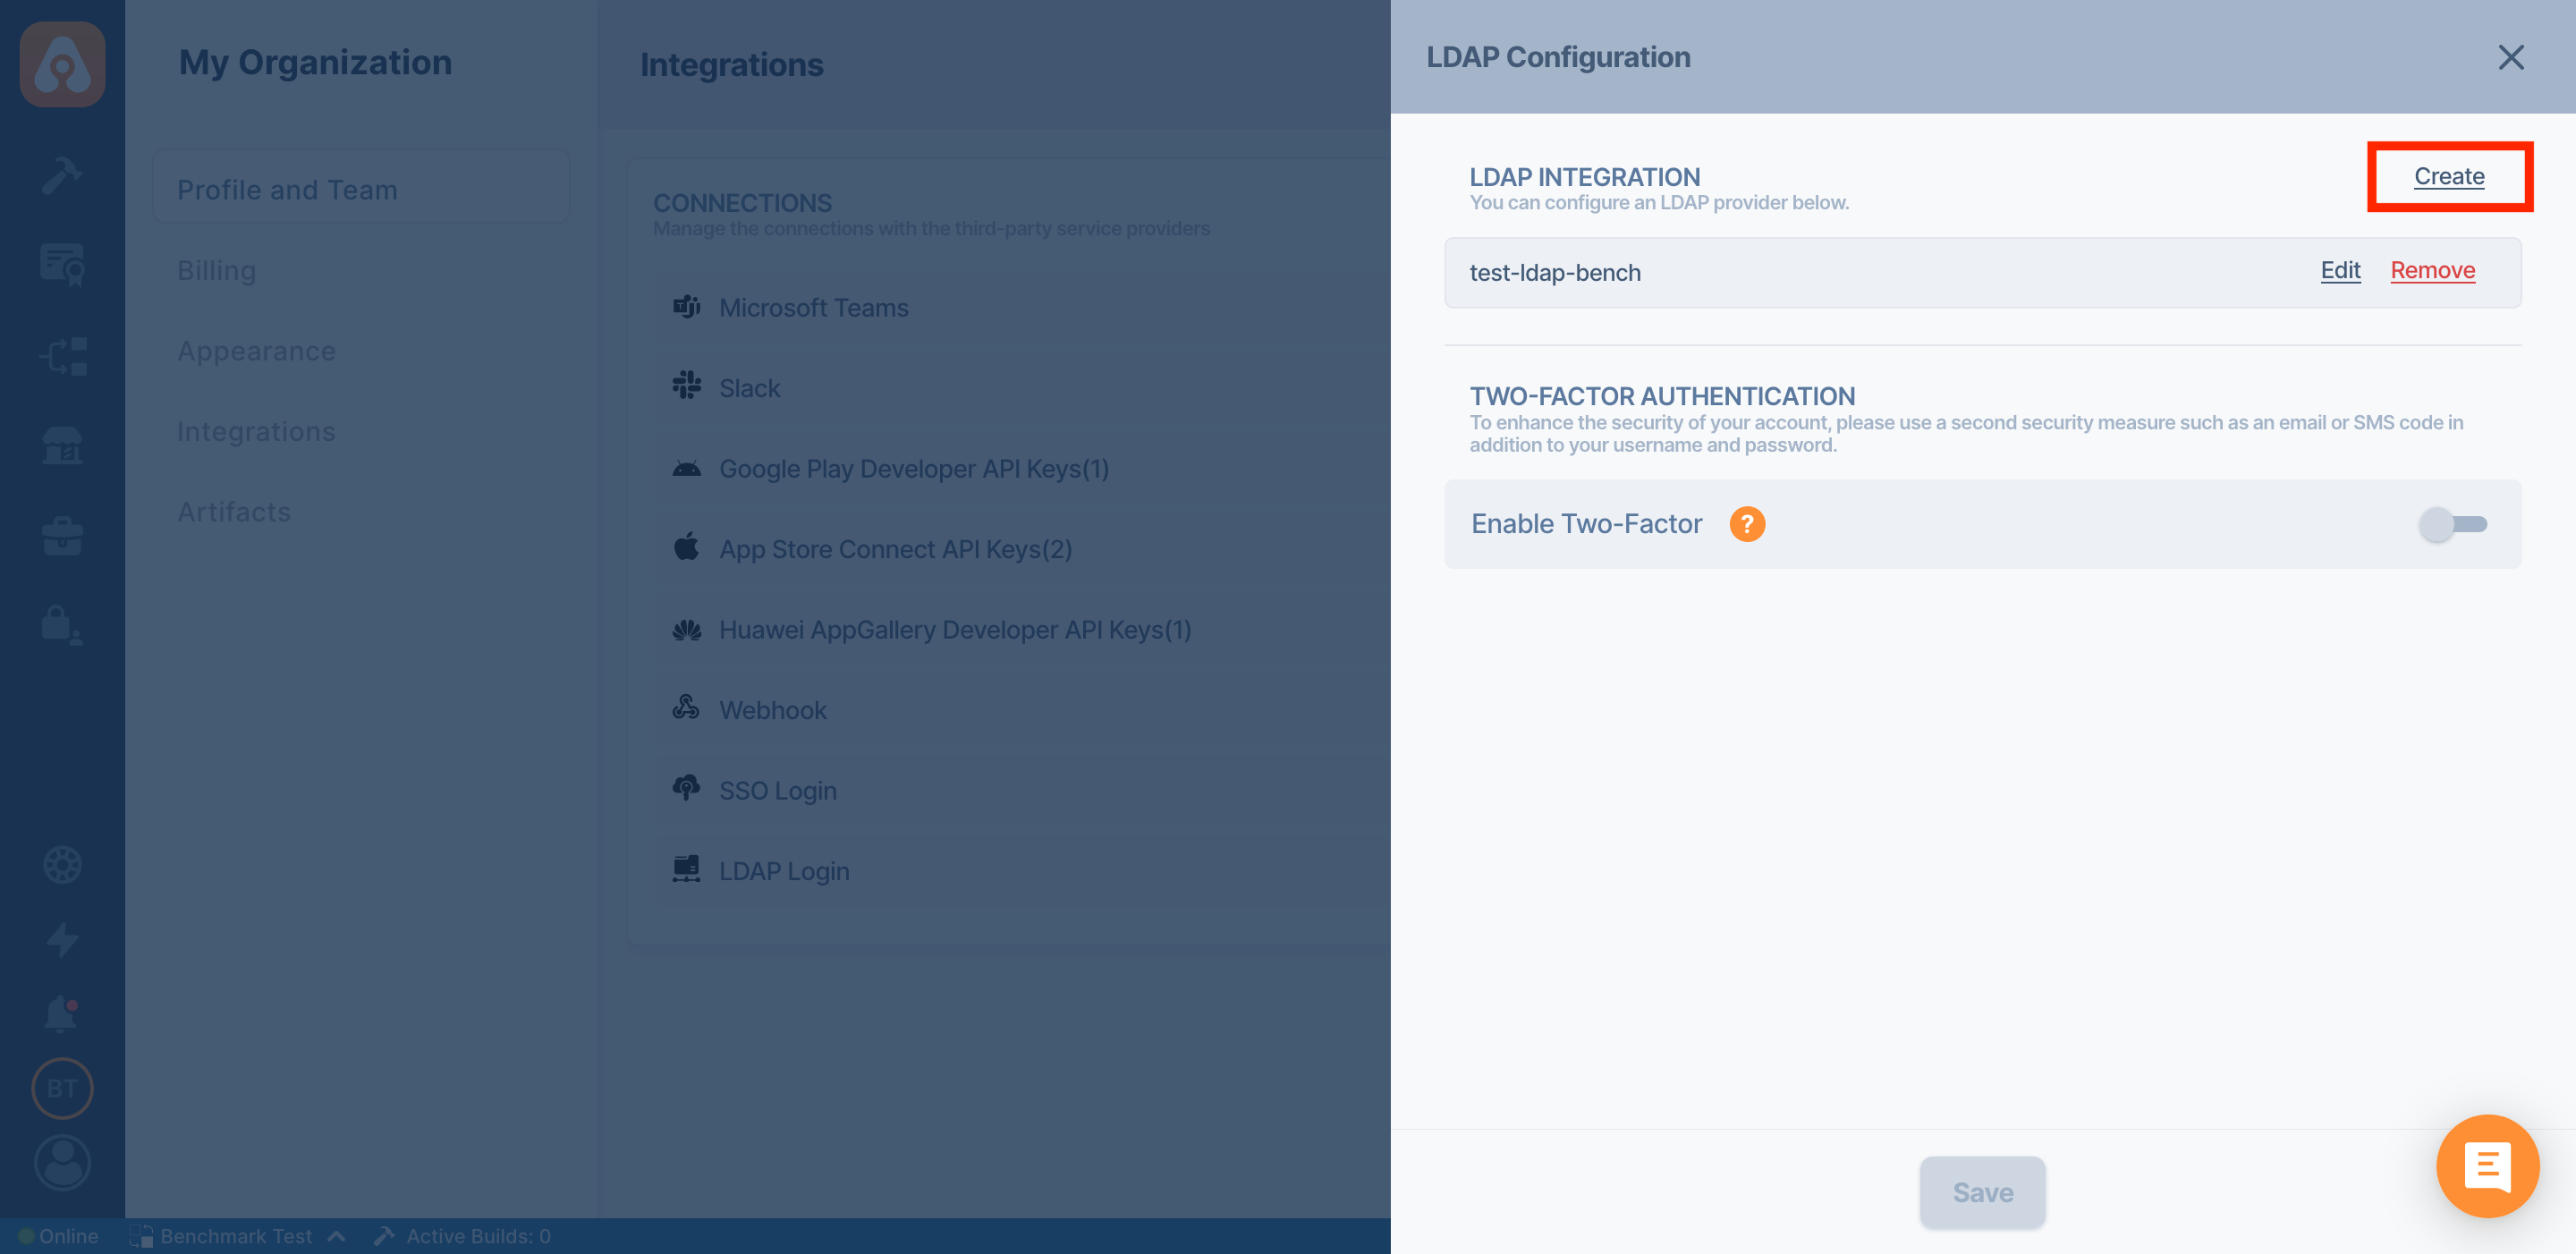
- Click Create button to create your LDAP
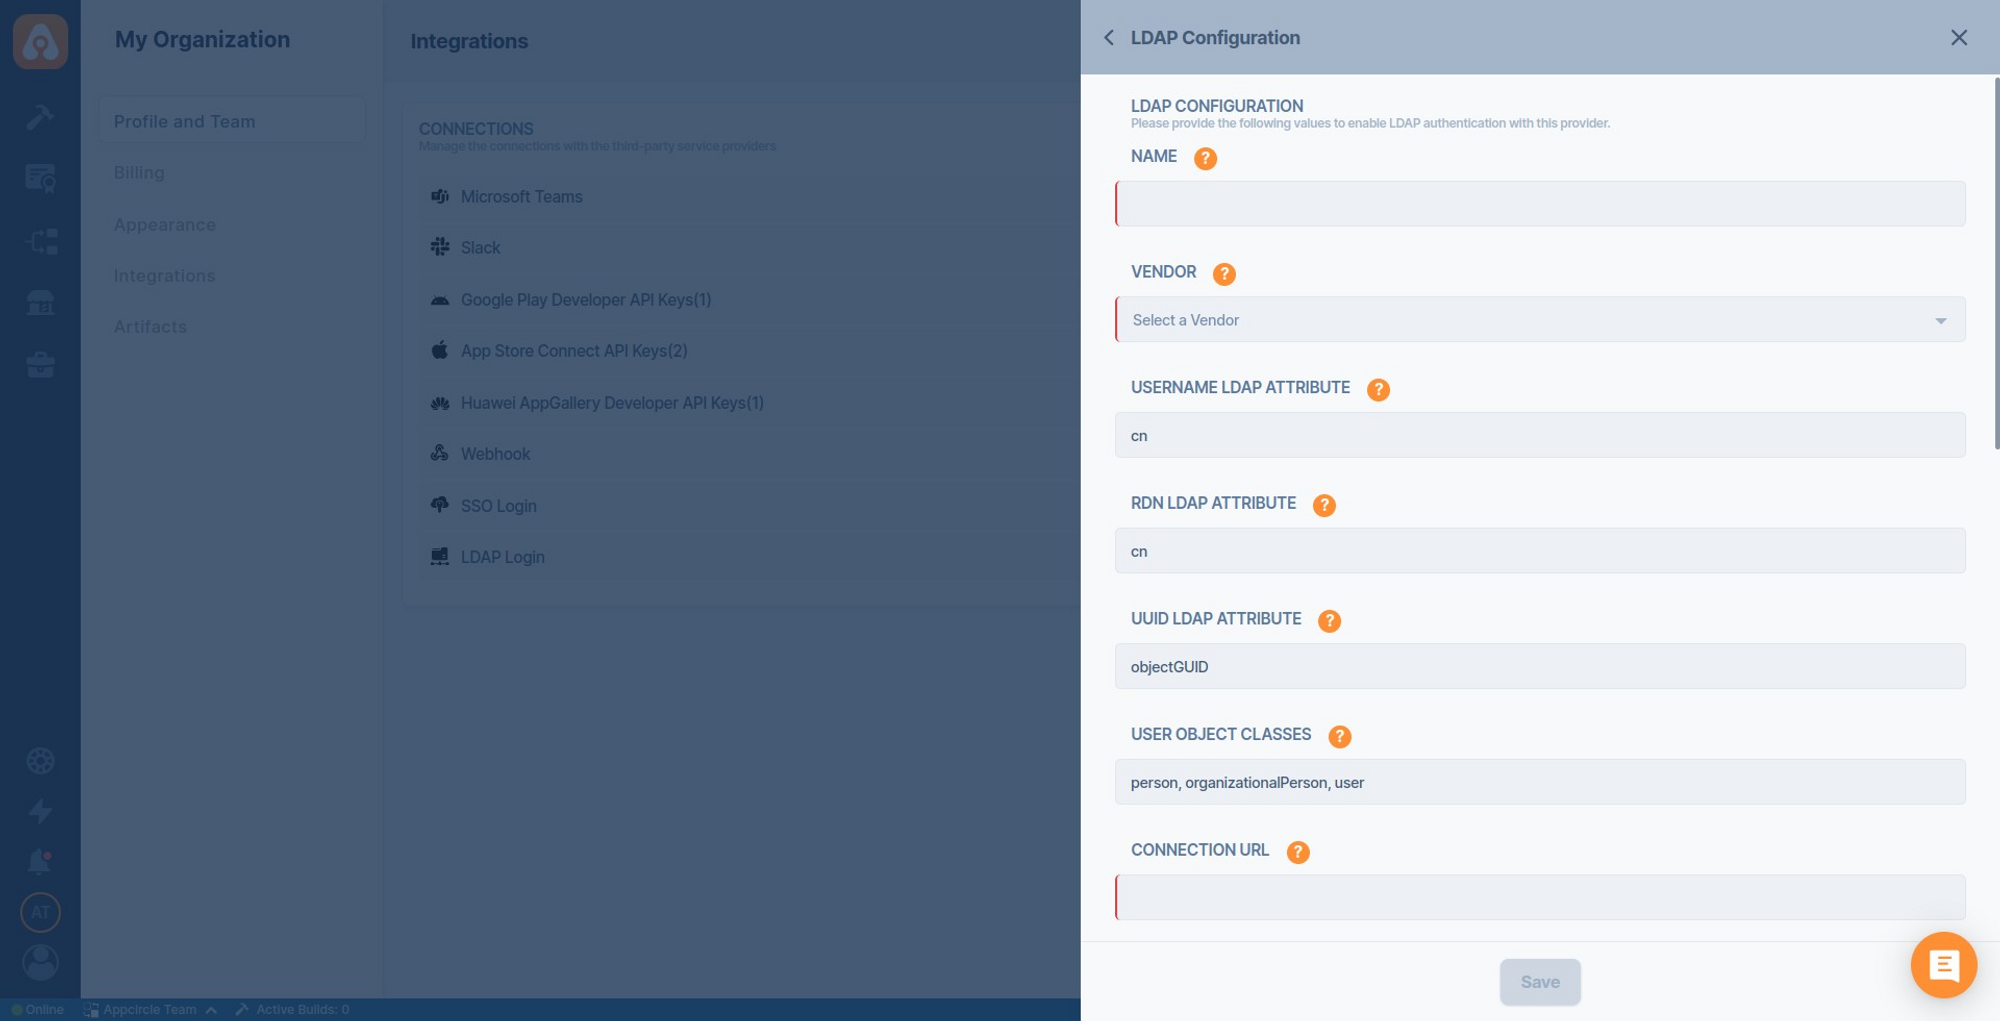
- Fill in the details of your LDAP Configurations
- You can see that the Connect button has changed to the Manage button.
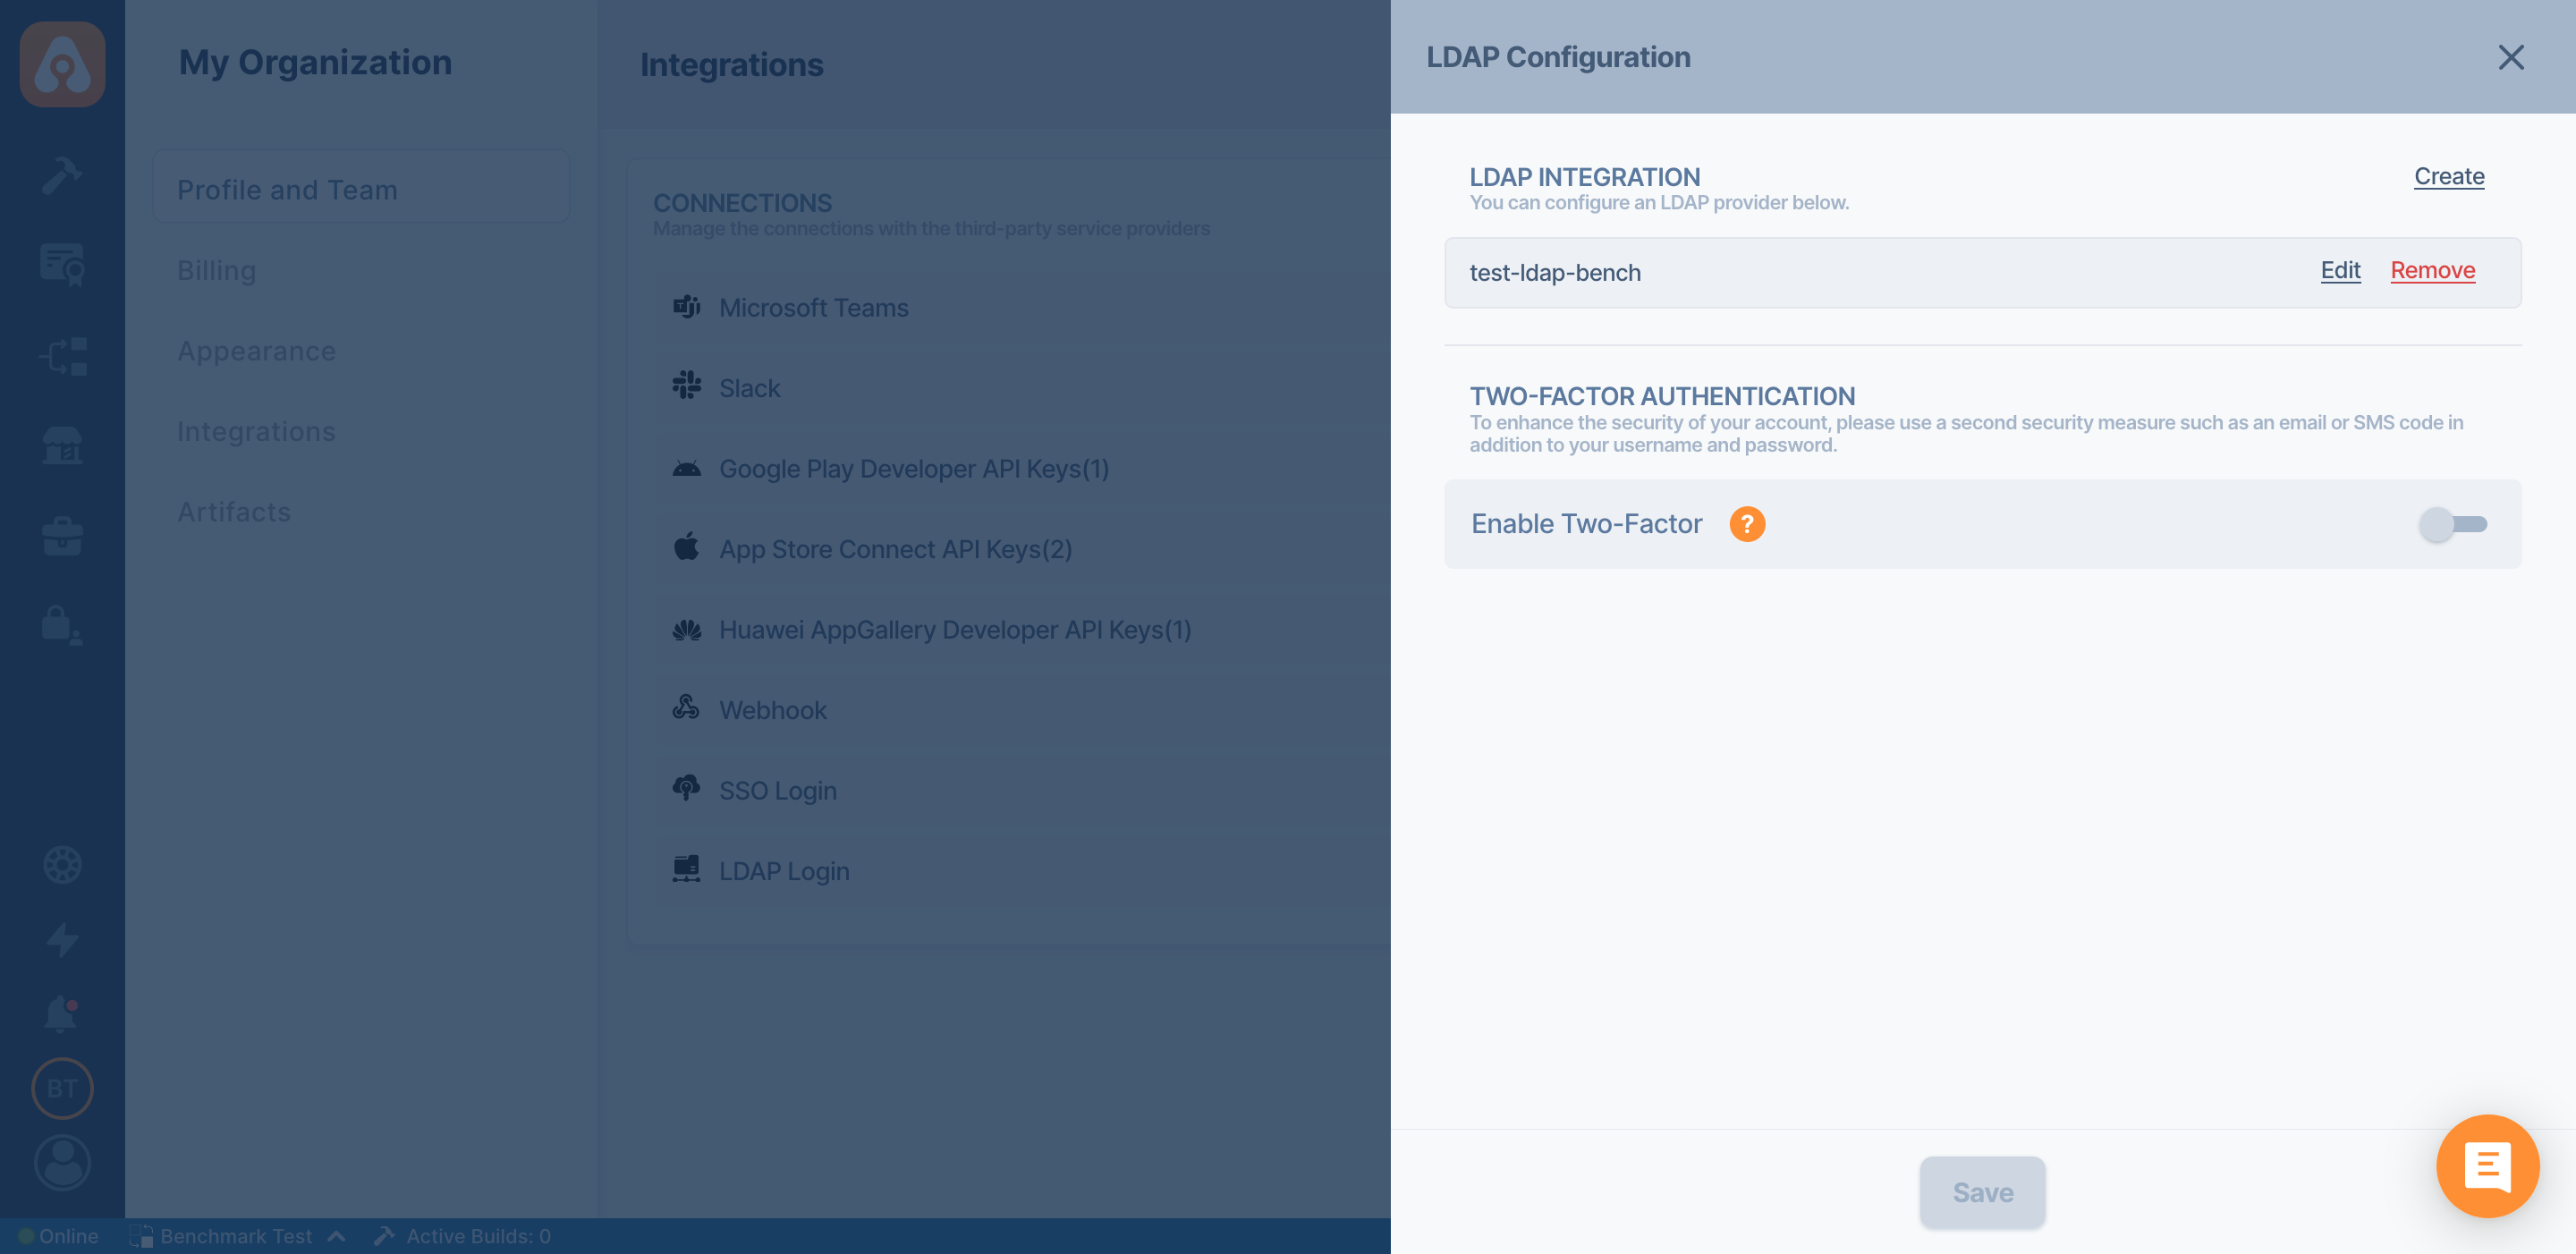
- To enable Two Factor Authentication, open it by clicking the Manage button and select the verification method.
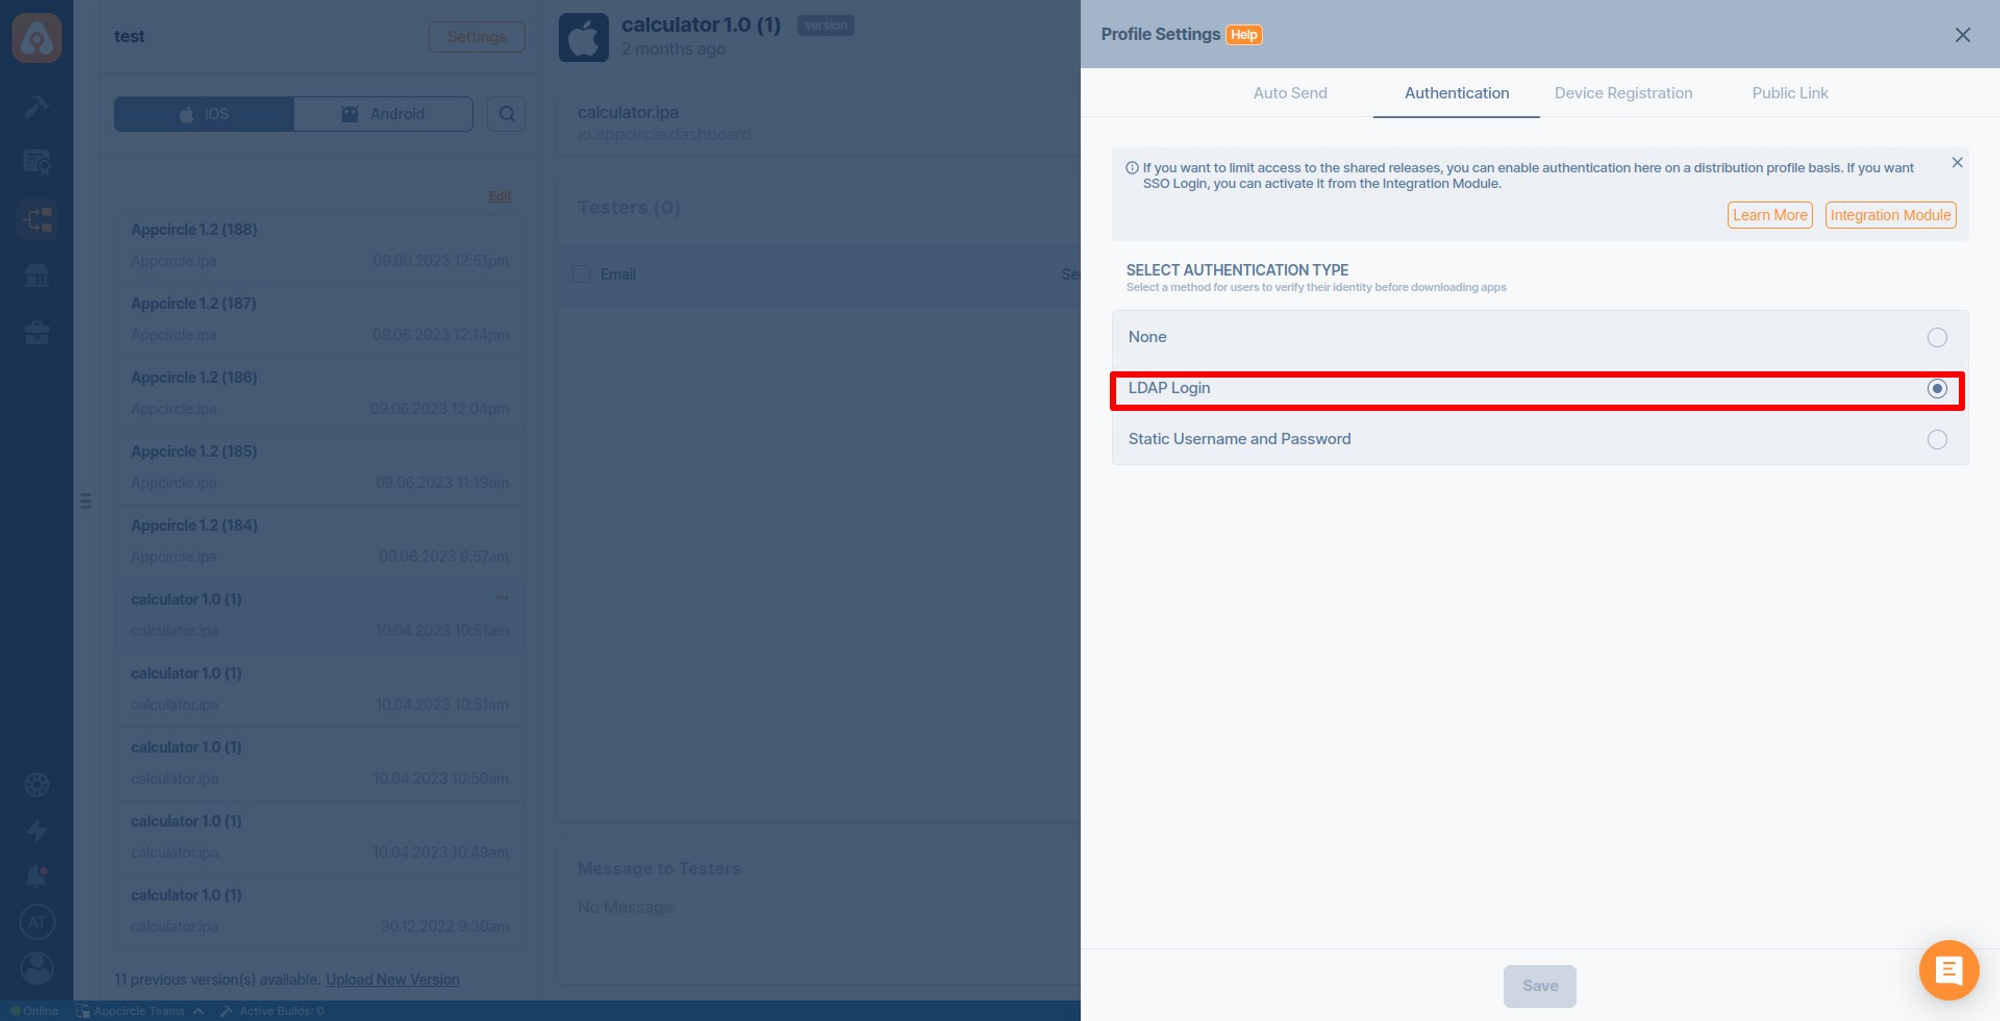
- To change the distribution authorization go to Distribution Profiles screen and press the your distribution profile click Settings button and under the Authentication tab you should see LDAP Login. Convert LDAP Login to on.
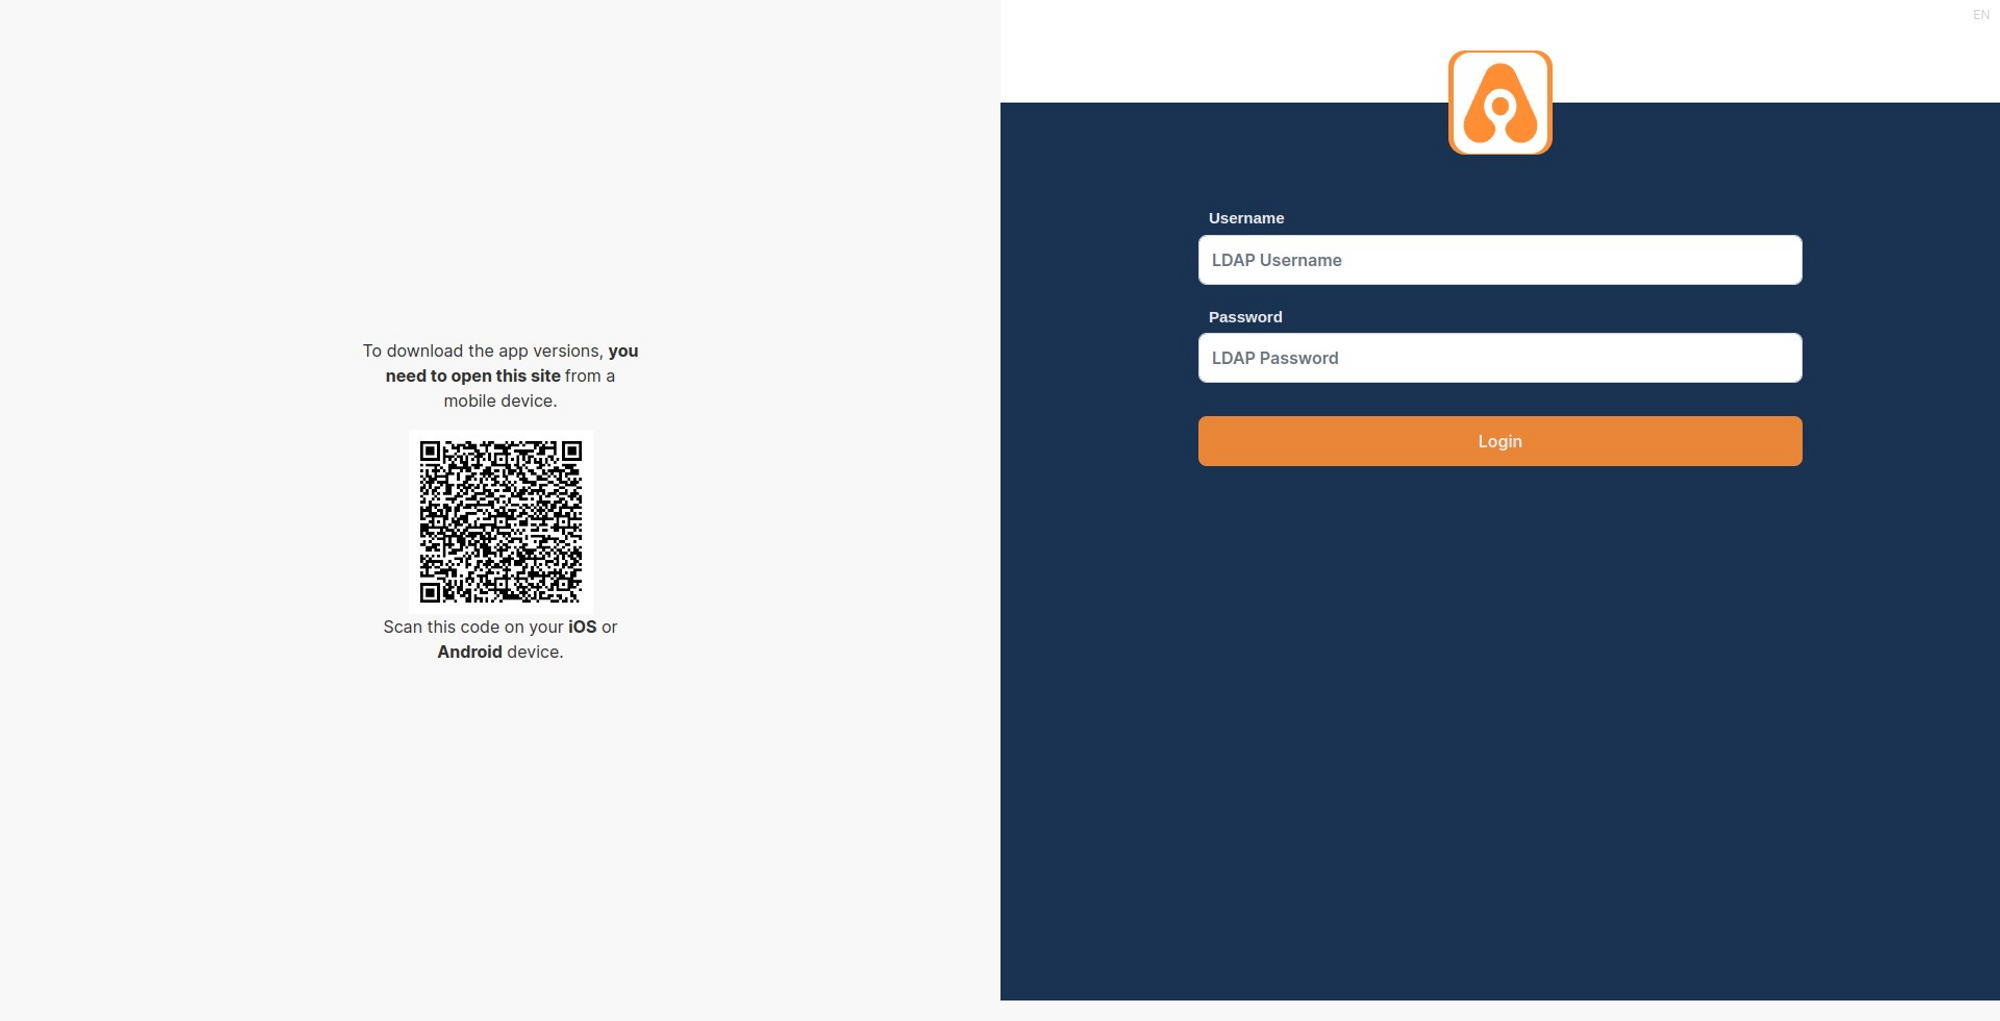
- After this step, it will be necessary to log in from the LDAP Login screen to access the distributed links.
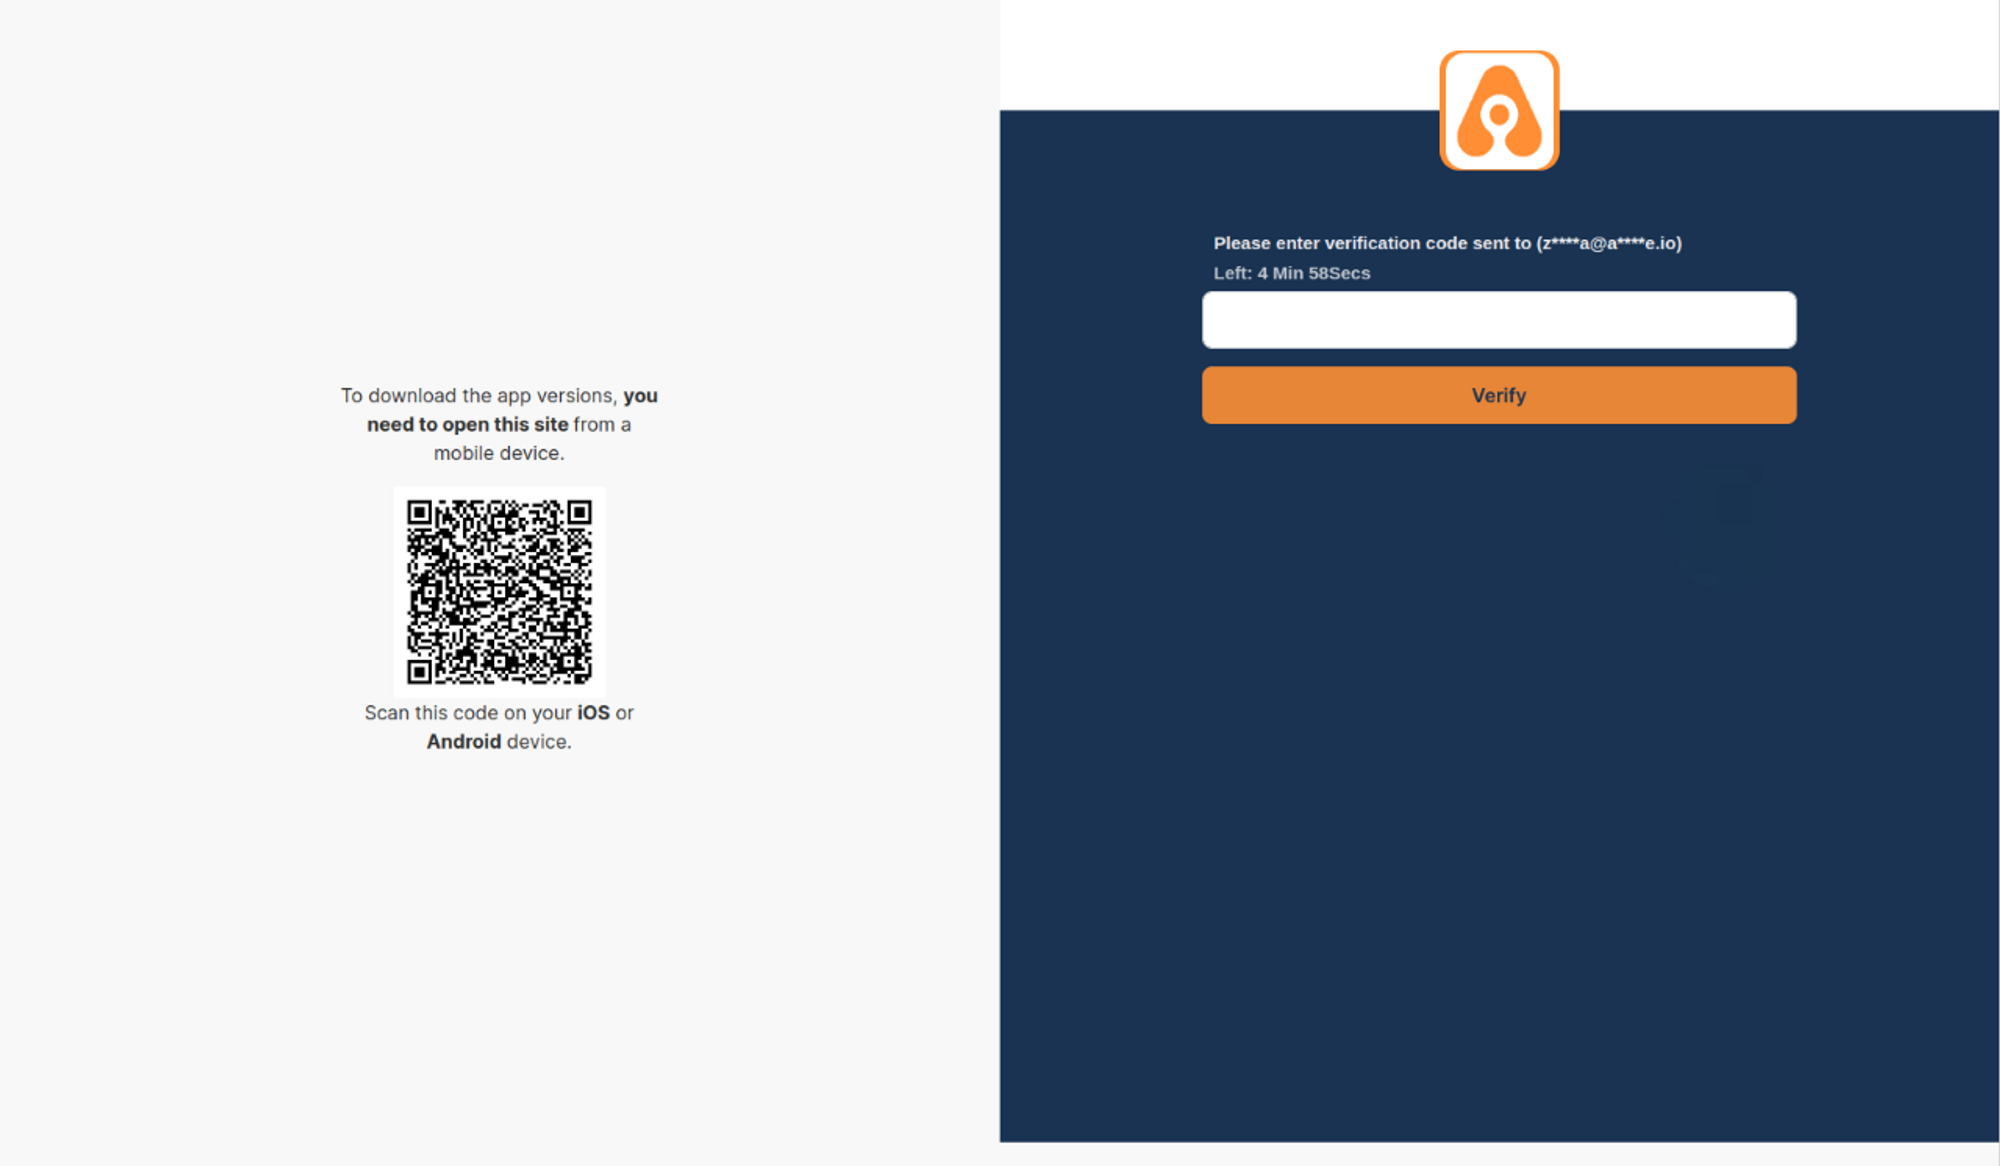
- You must verify according to the method you have chosen.
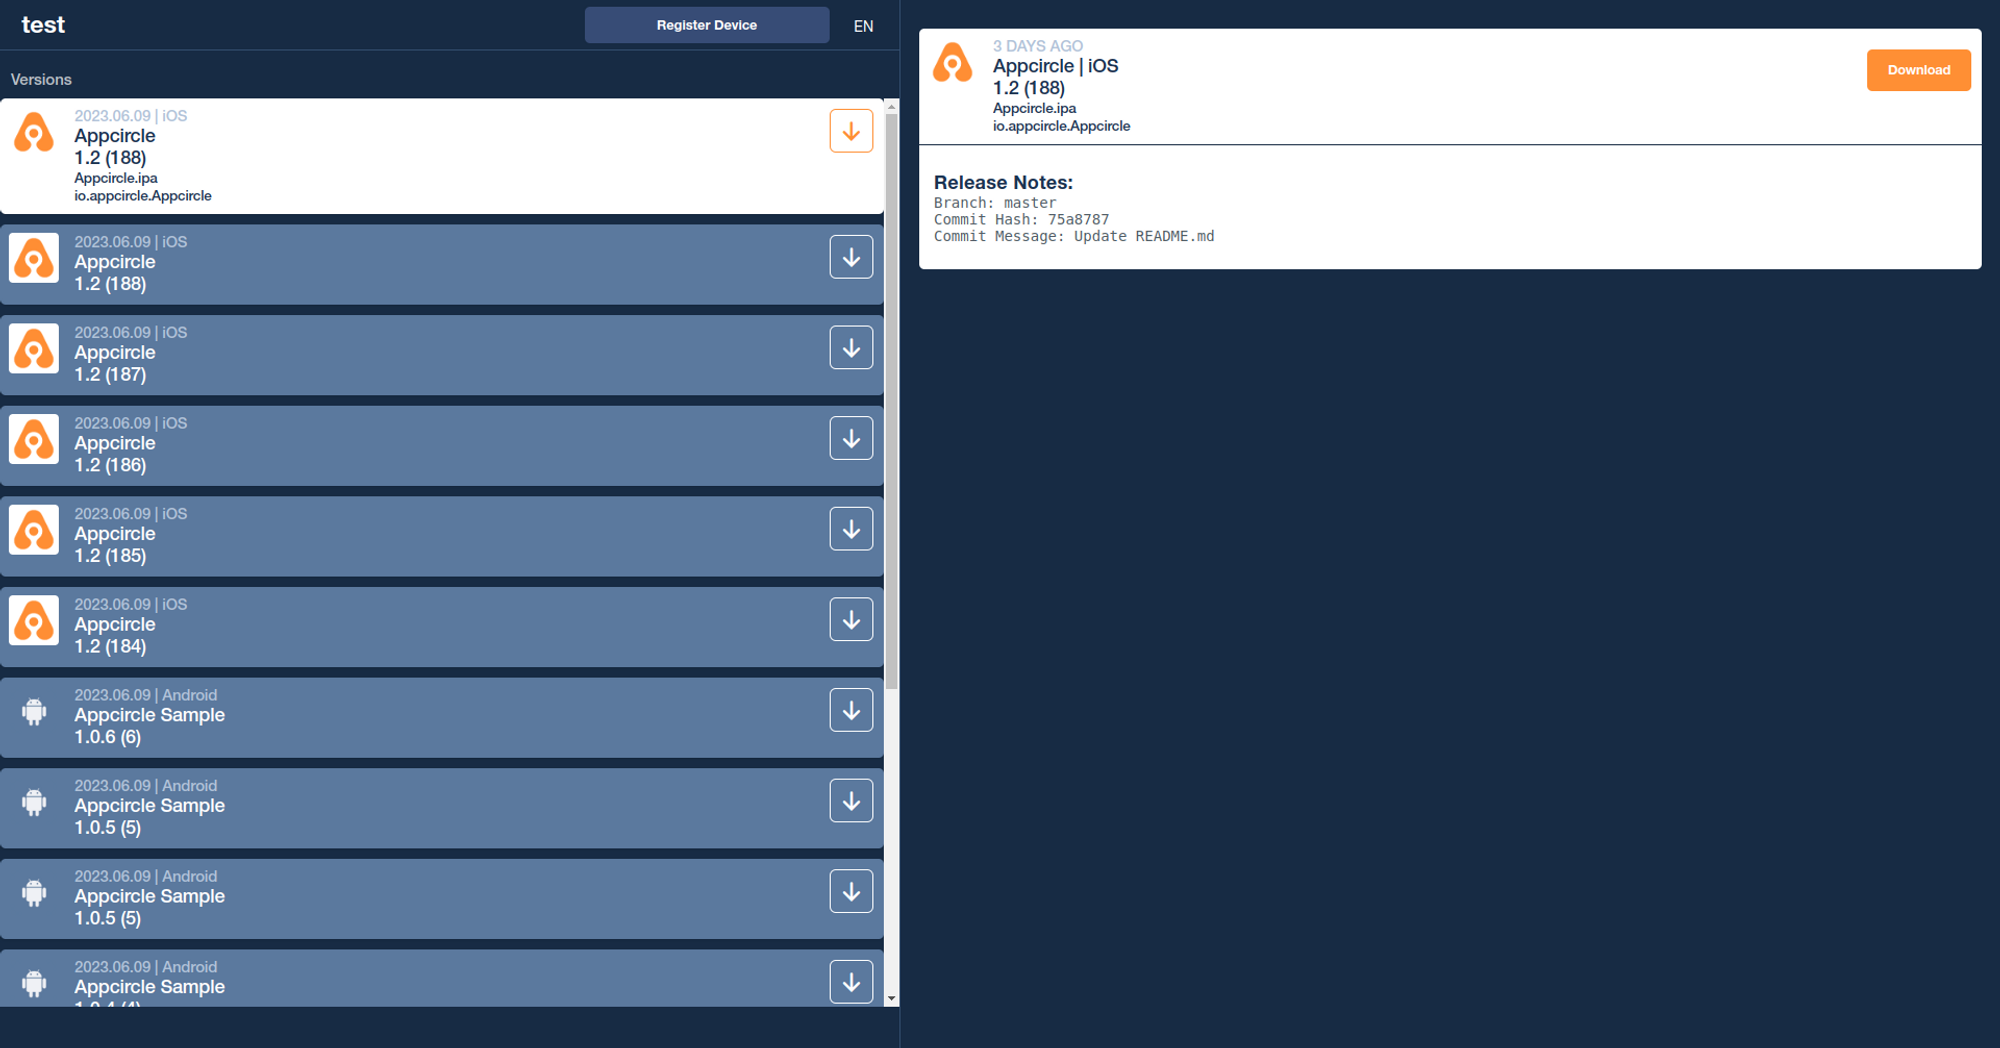
- If the login is successful, a screen similar to the one below will appear.
Deleting LDAP Login
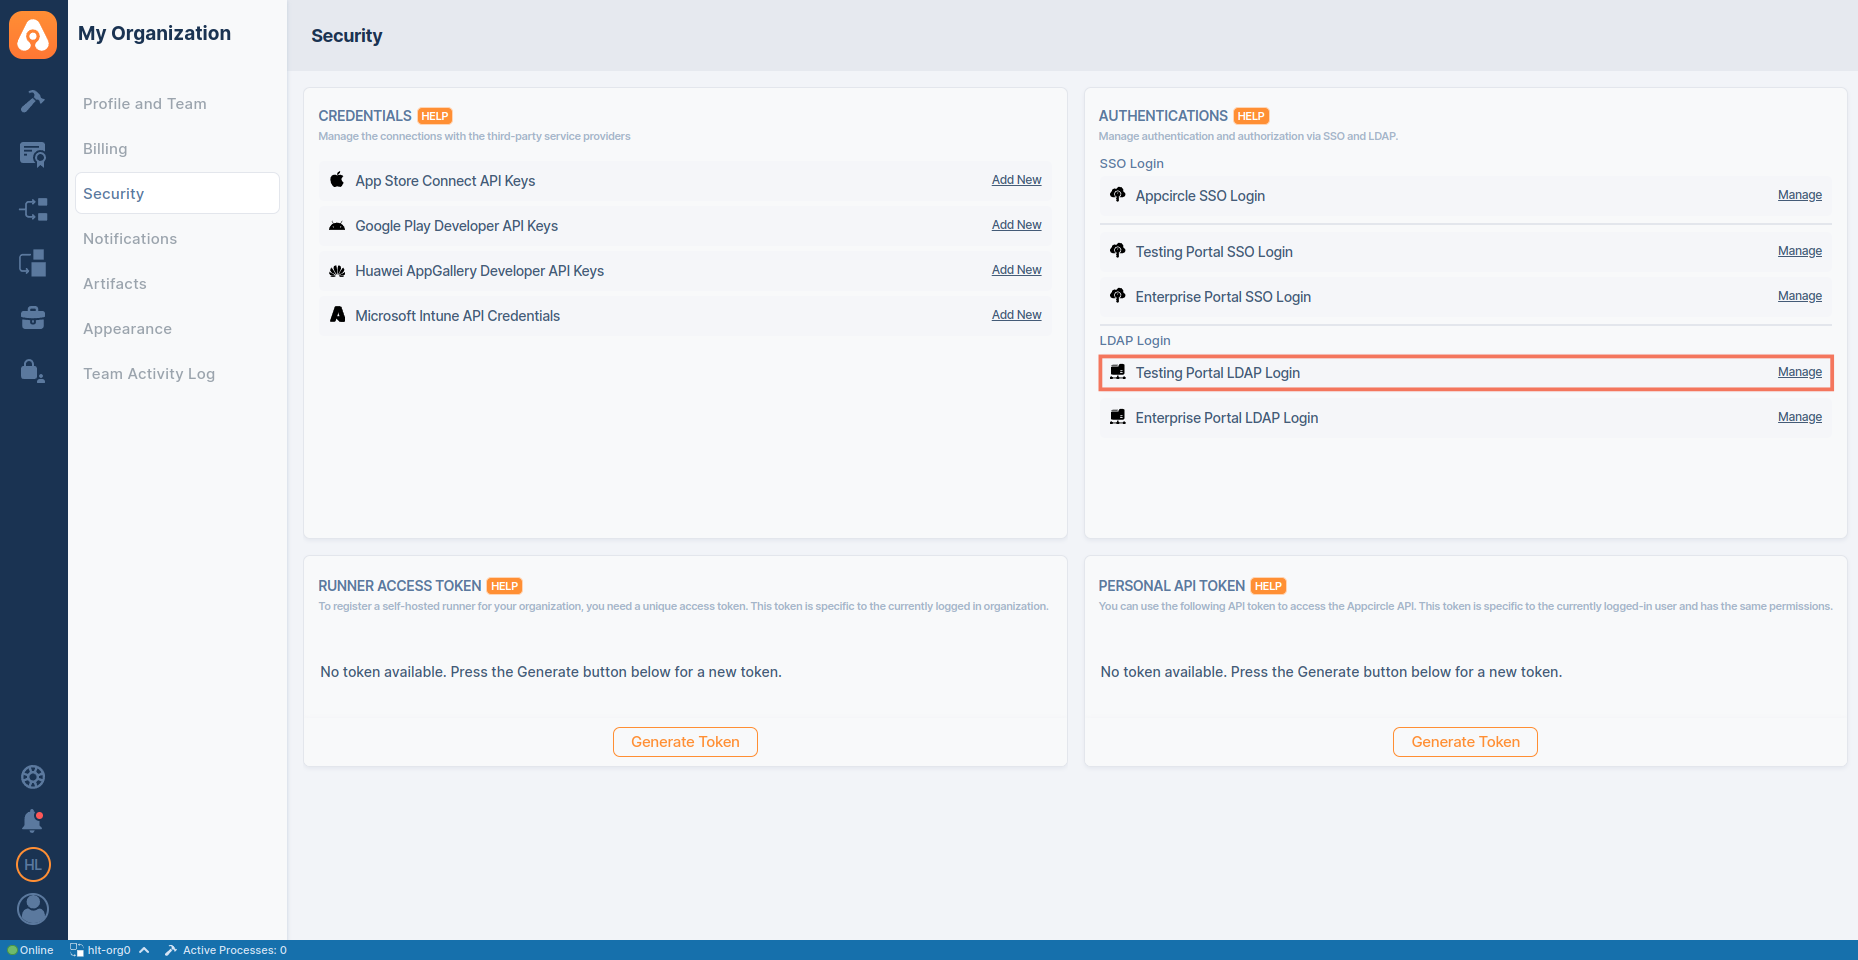
- To delete, go to the My Organization > Integration screen and press the Manage button next to LDAP Login under the Connections section.
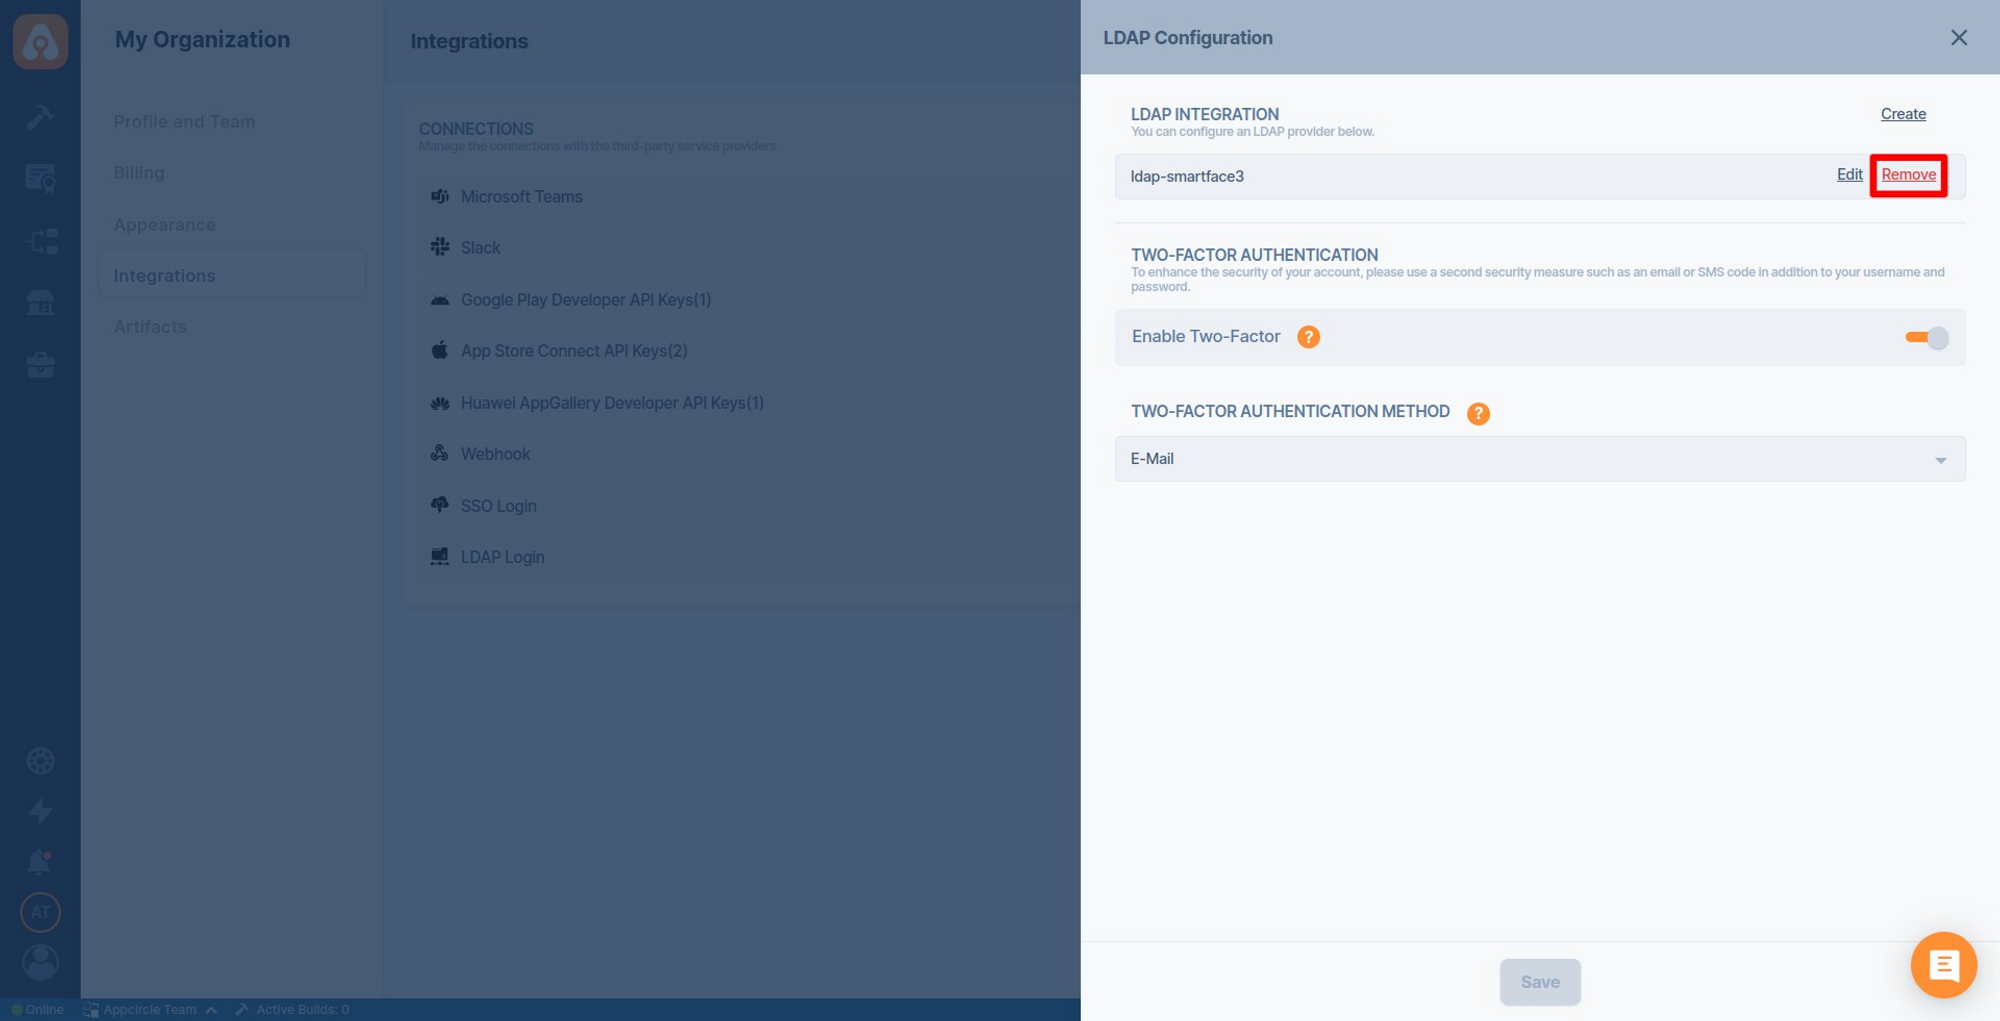
- Click the Remove button.
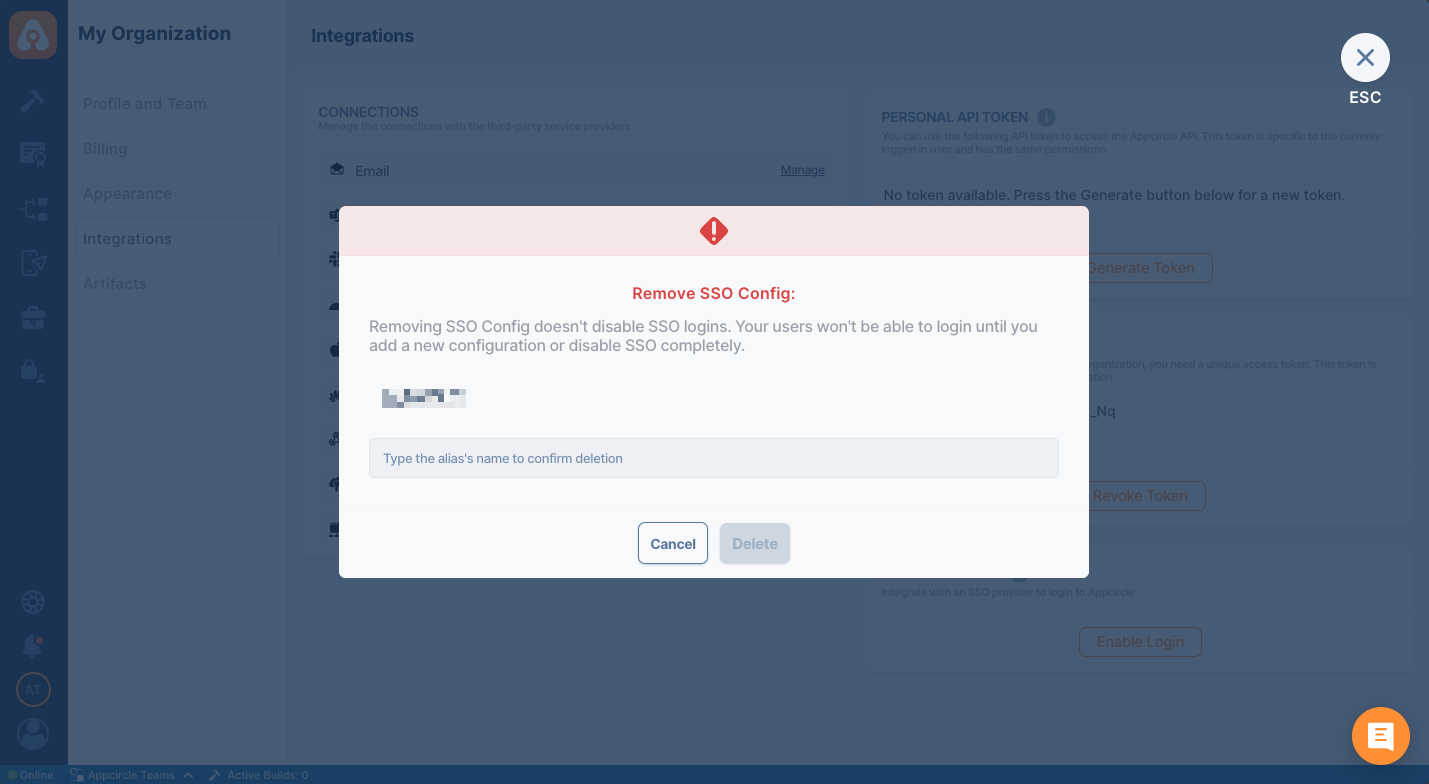
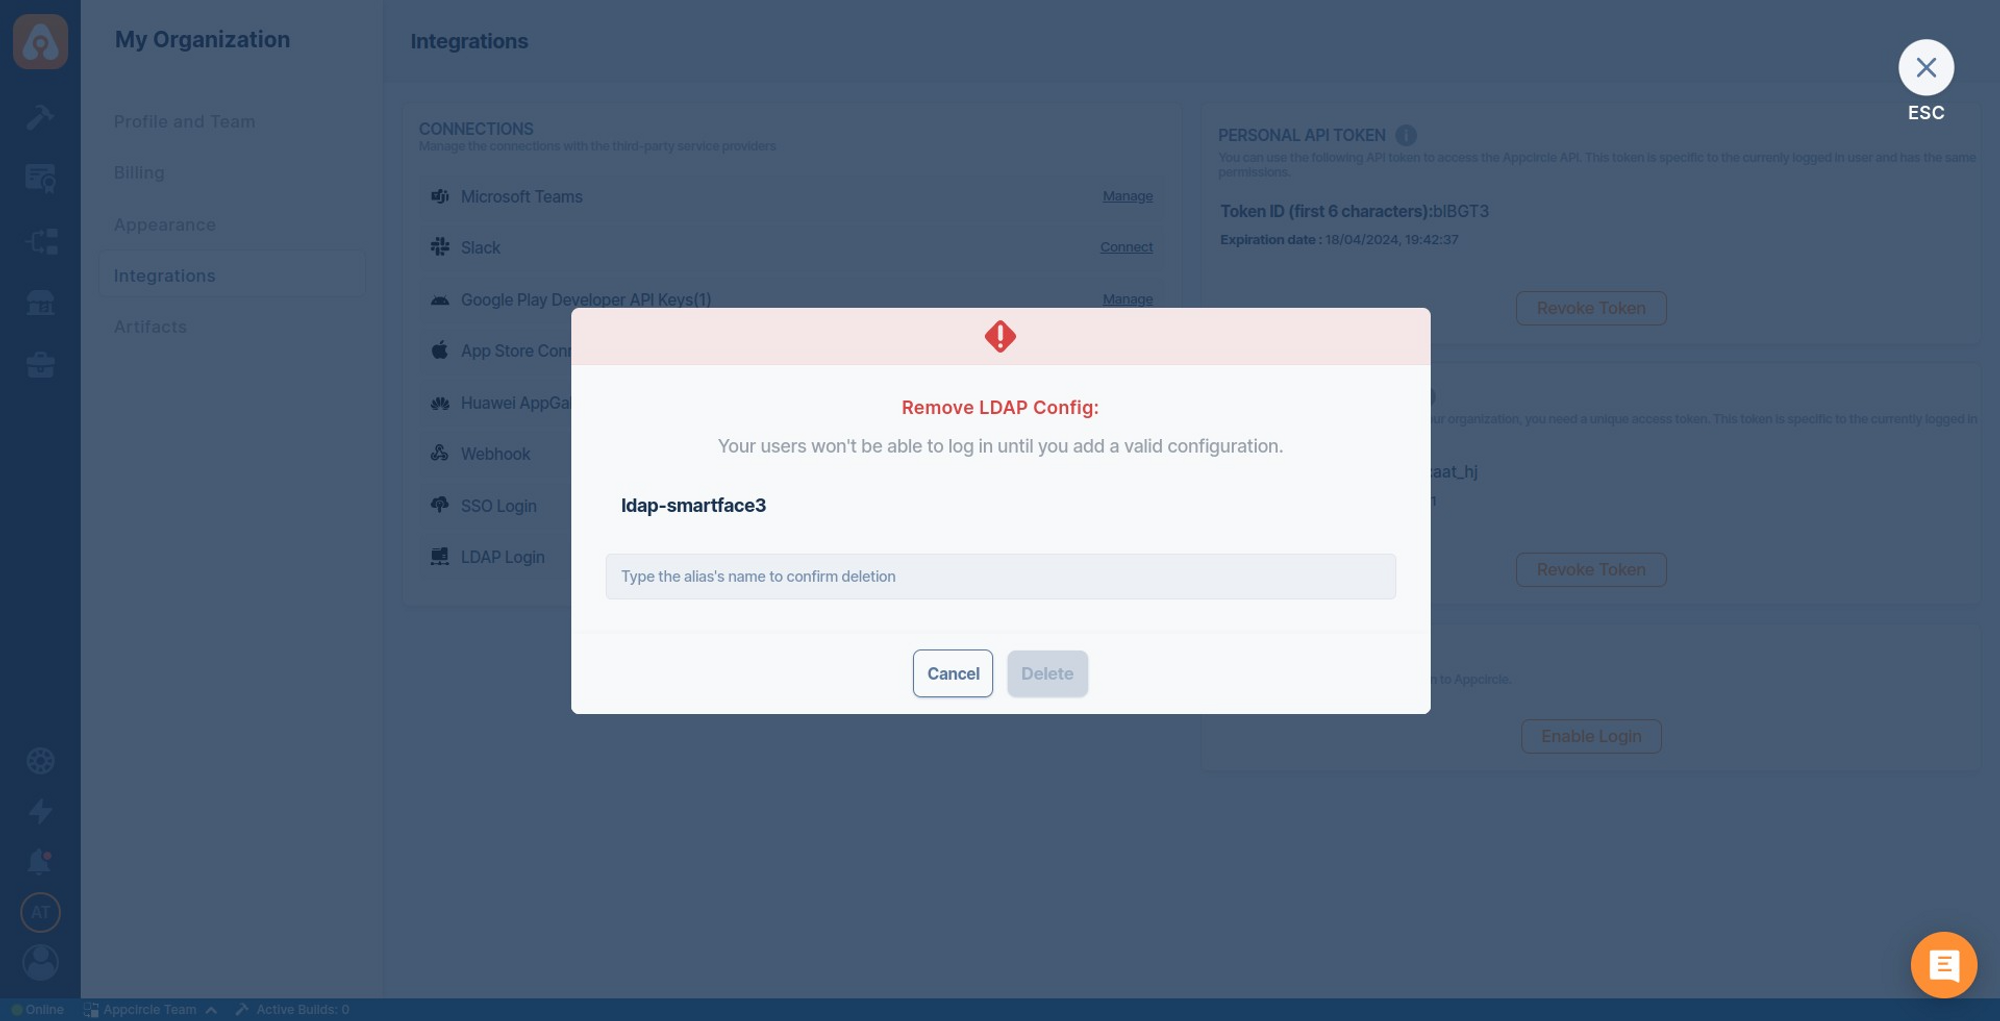
- Type the alias’s name to confirm deletion and click the Delete button.
SSO Login
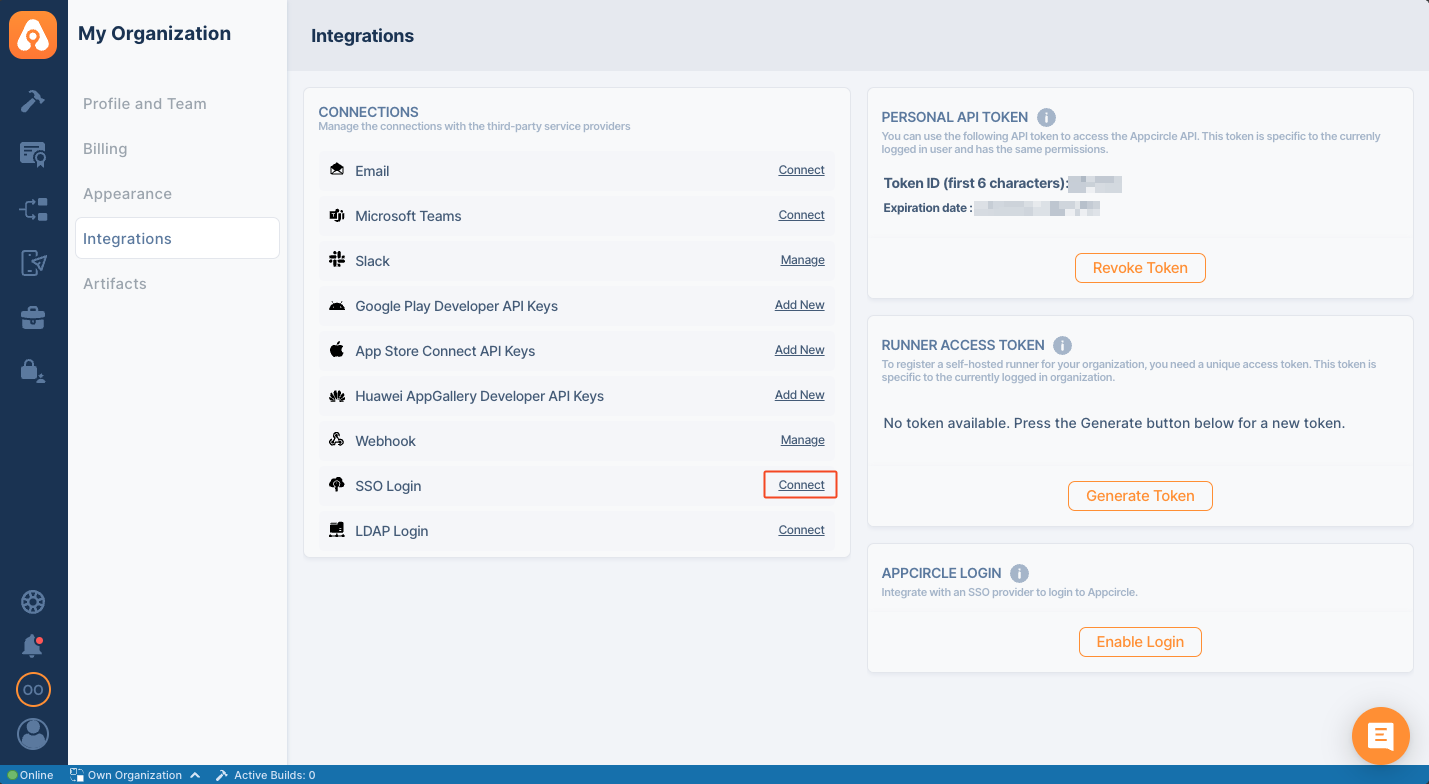
- To start, go to My Organization > Integrations screen and press the Connect button next to SSO Login under the Connections section.
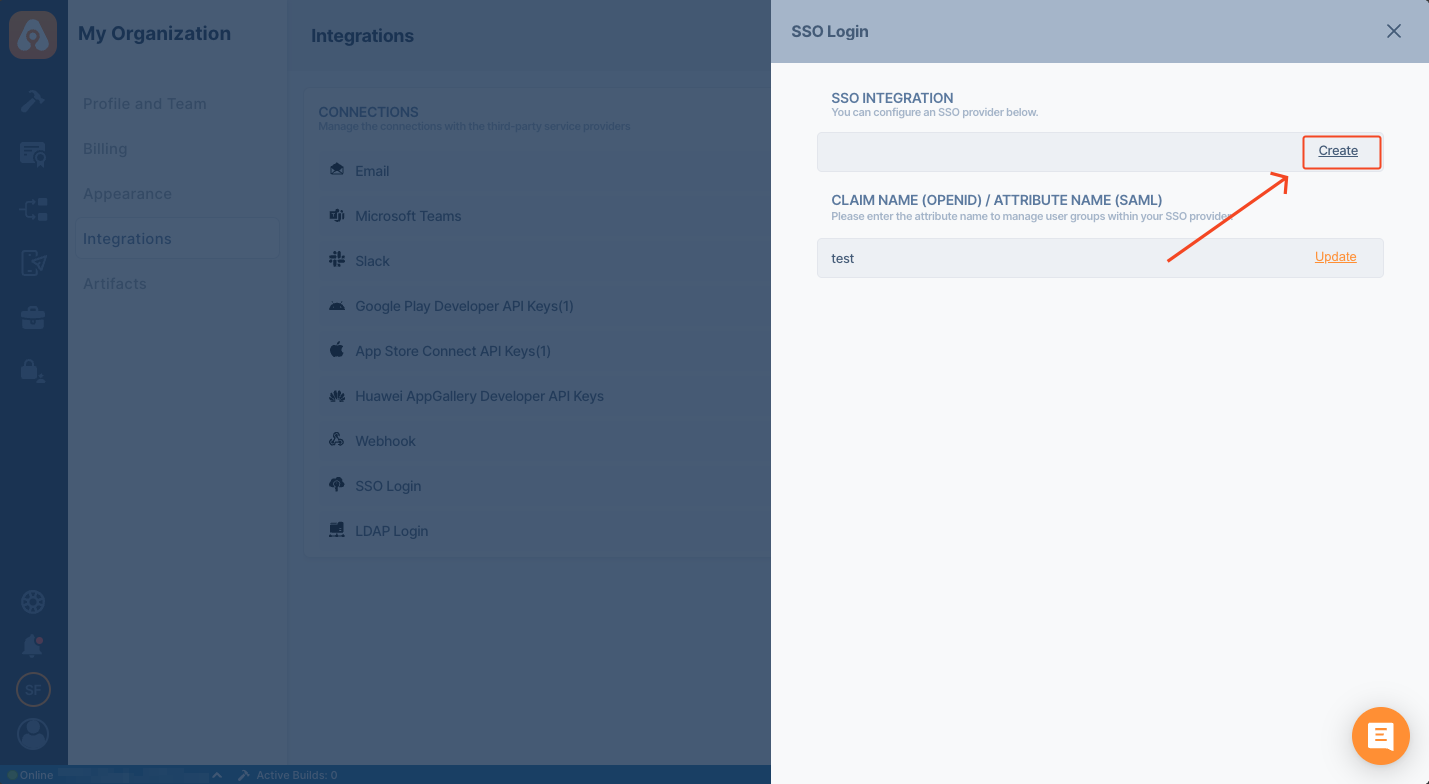
- Click Create button to create your SSO Login
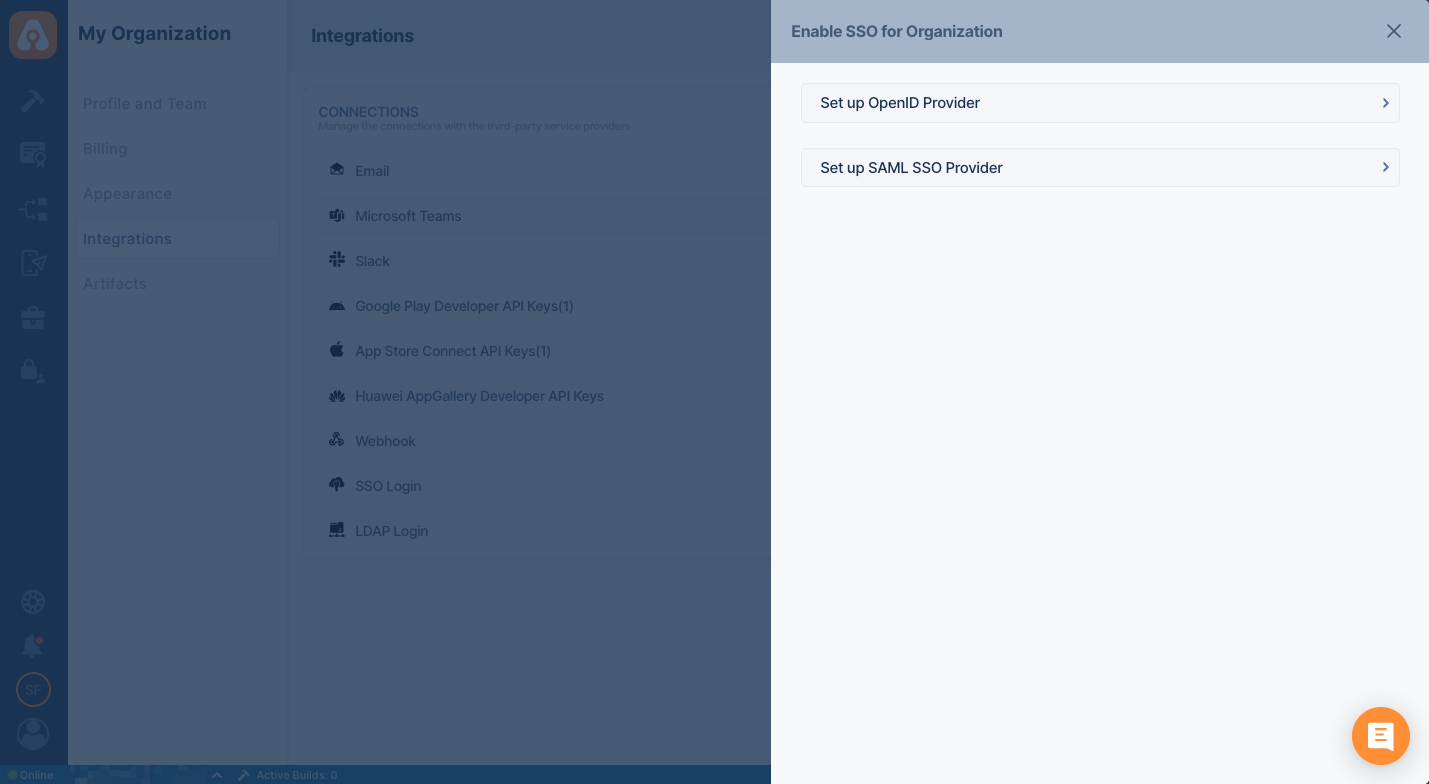
Please check SSO document to learn how you can configure different SSO providers.
caution
Pleas be aware that, enabling SSO for APPCIRCLE LOGIN doesn't enable SSO for Testing Distribution and Enterprise Store. They must be configured seprately.
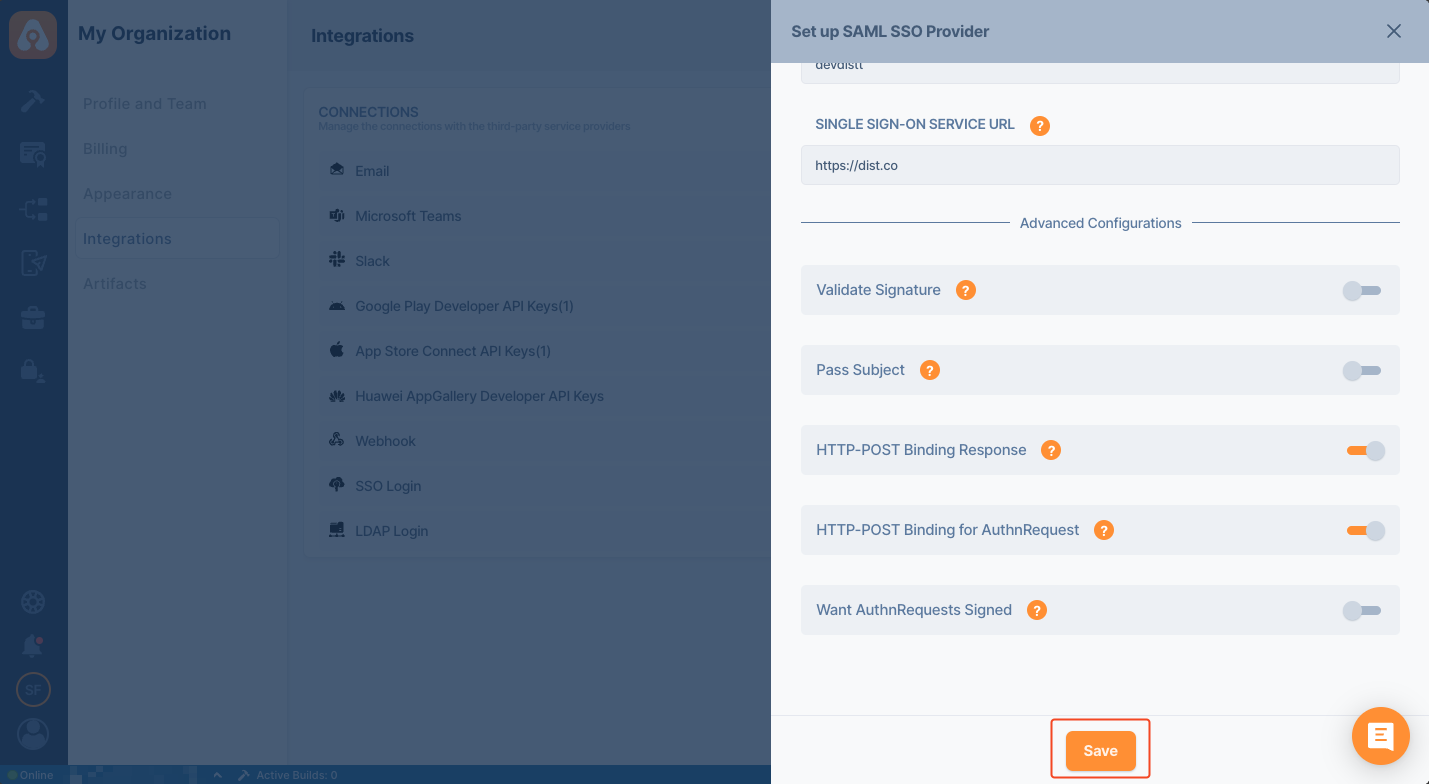
- Click the Save button to save.
Deleting SSO Login
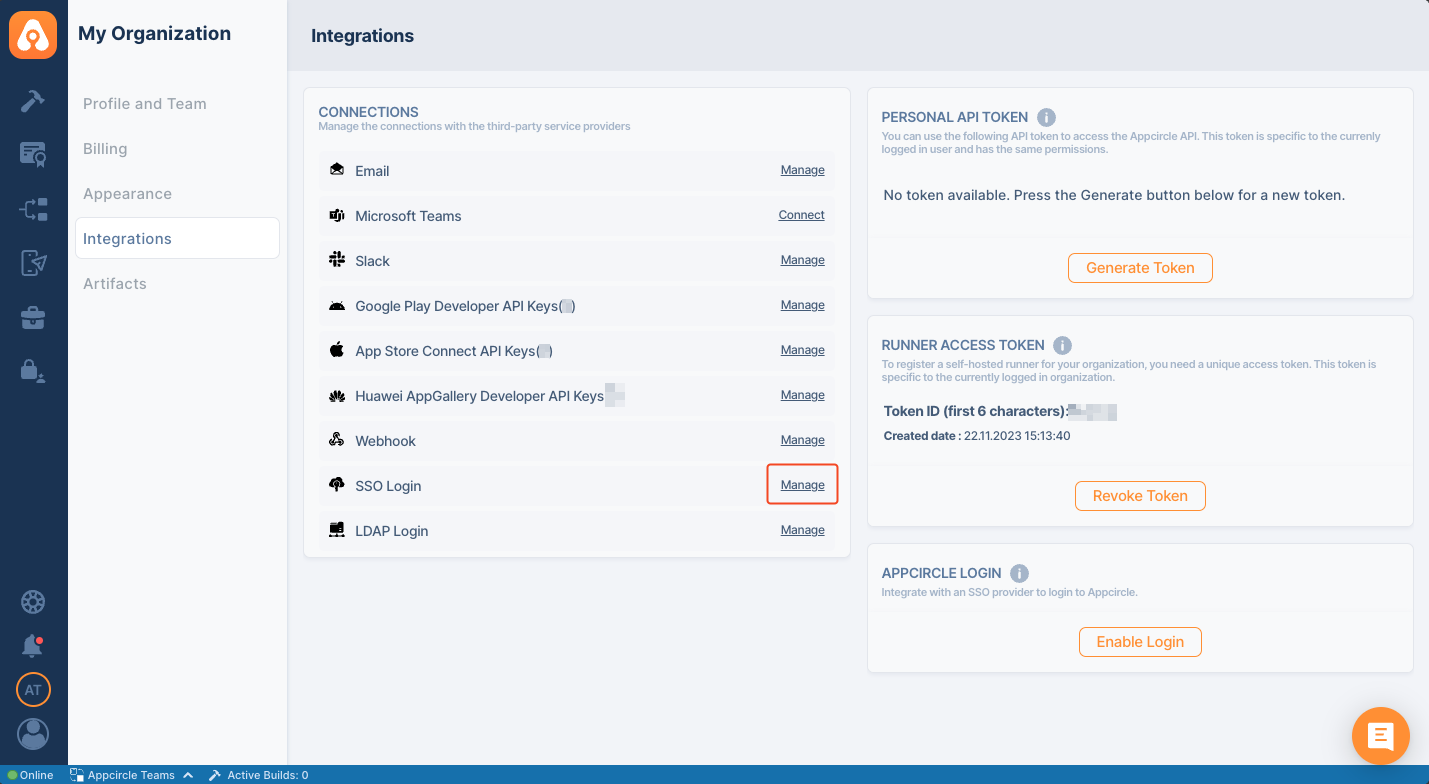
- To delete, go to the My Organization > Integration screen and press the Manage button next to SSO Login under the Connections section.
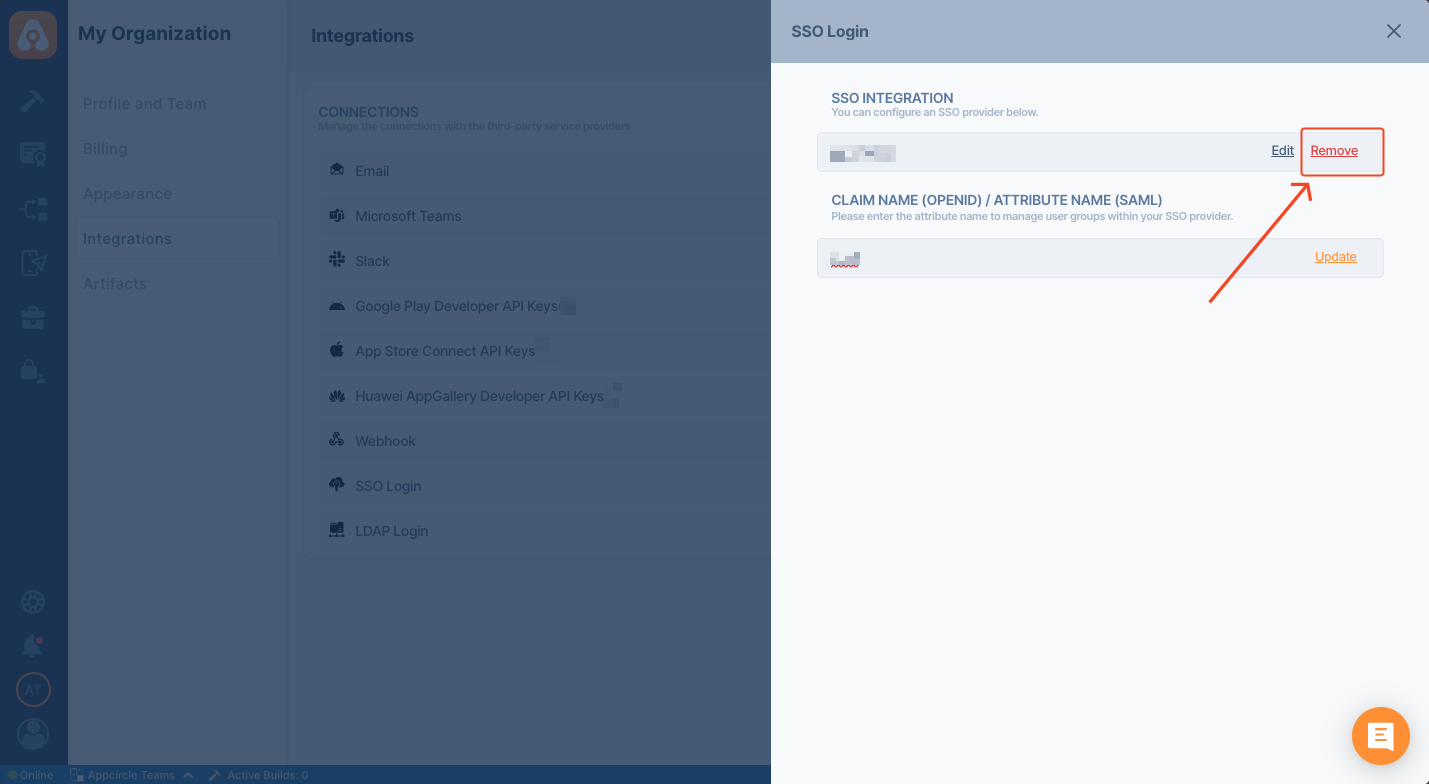
- Click the Remove button.
- Type the alias’s name to confirm deletion and click the Delete button.
