Create EC2 DMS Project
Create EC2 DMS Project Video
- After clicking the link below to access the SWS console web, proceed to log in to the AWS Turn Key Console.
- Once you have accessed the AWS Turn Key Console, click on
AWS EC2 DMS.
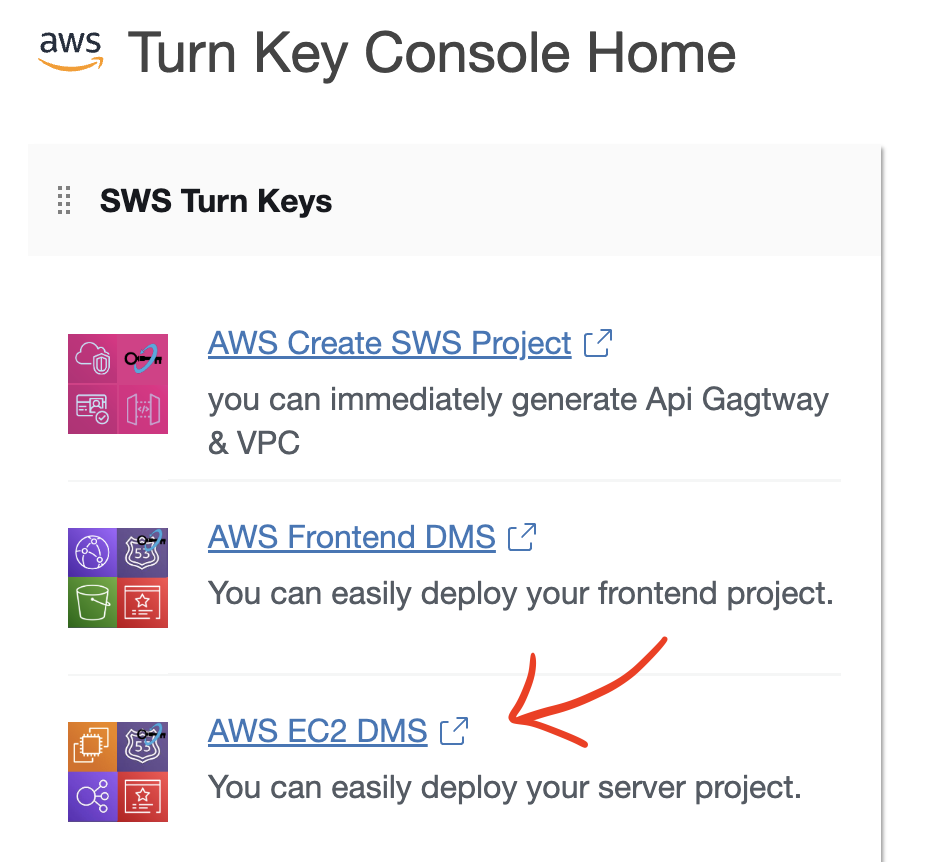
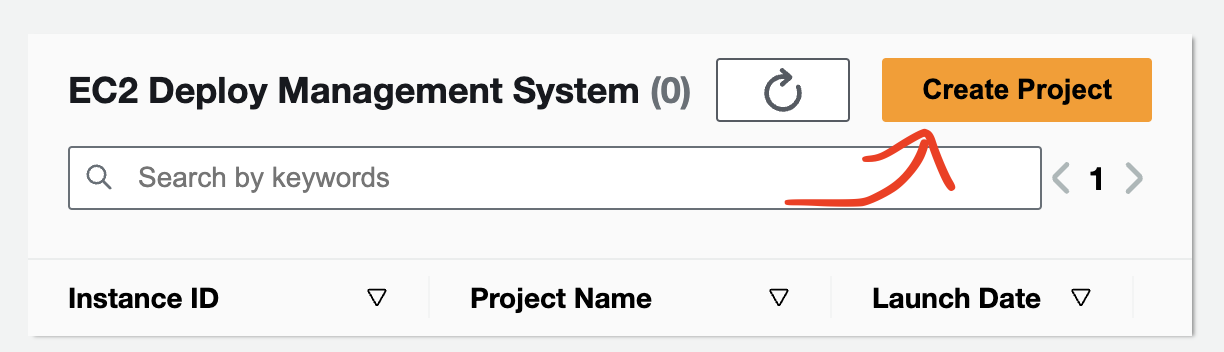
- click the
Create Projectbutton.
- Please proceed in the order of the numbers in the image below.
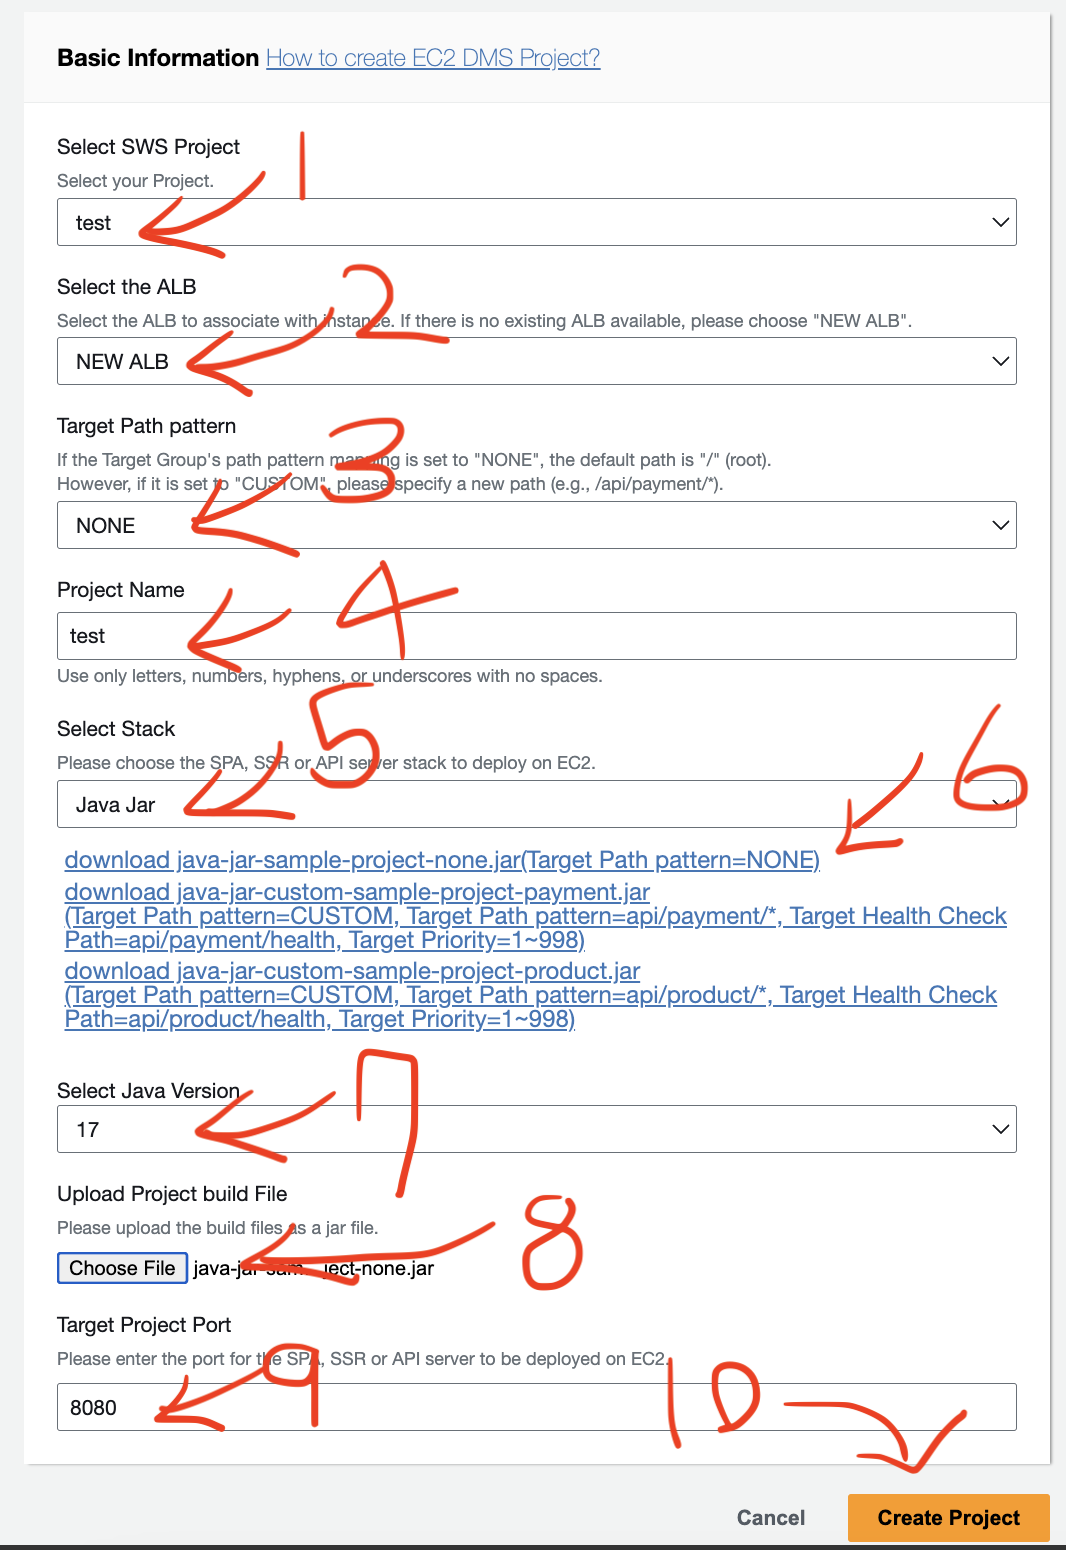
(1) Select the SWS Project.
(2) The Select the ALB option allows you to choose whether to deploy the project to EC2 instances by creating a new Application Load Balancer (ALB) and connecting it or by connecting to an existing ALB. If you want to deploy to a new ALB, select NEW ALB.
(3) The Target Path pattern selection includes the options NONE and CUSTOM. It determines how traffic will be routed when a request for a specific path is made to the instances where the project is deployed.
If
NONEis selected, the default path will be the root path (/) for connection. In this case, your application should be implemented to serve a publicly accessible and normal page when accessed through the root path.If
CUSTOMis selected, you can specify a custom path pattern to route traffic to the instances where the project is deployed. Here's how you can set it up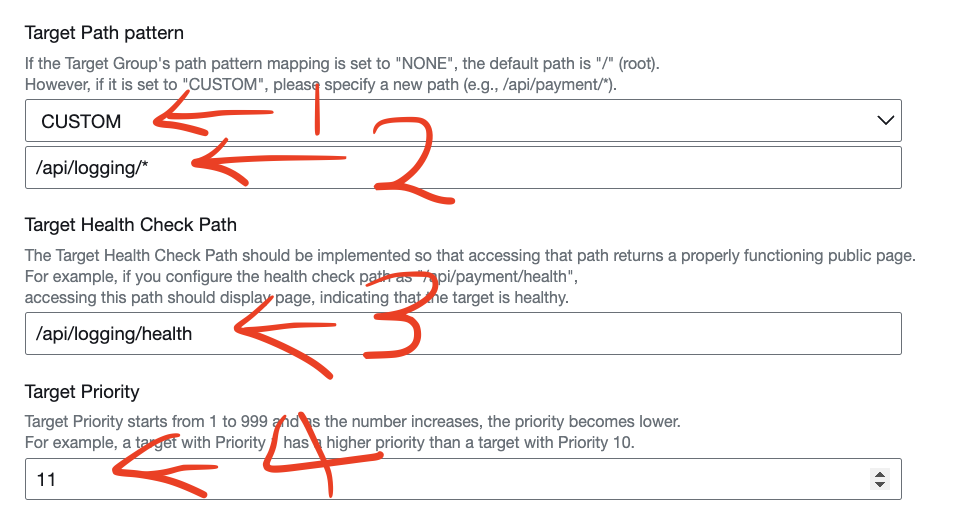
To configure the
Target Path patternto match the controller path prefix of the API Server, such as for a logging API server where the path prefix is/{controller prefix path}/*.To configure the
Target Health Check Pathto verify if the server is running and healthy by calling a specific path on the API Server's controller, such as for a API server where the health check path is/{controller prefix path}/health.To configure the
Target Priority, you need to specify the priority order in which rules associated with different target groups are evaluated sequentially. This order must be set, with values ranging from1 to 999, wheresmaller numbersindicate higher priority
(4) Enter the Project Name.
(5) Select the stack for the project to be deployed. (Currently, Java Jar builds or nodejs project are supported.)
(6) Here is the link to download an example project that fits your selected stack. Follow the instructions provided in the text to set it up, and you can test it by uploading the corresponding files and trying it out.
(7) When selecting a version based on the stack, simply choose the version that corresponds to your stack.
(8) Upload the java -> project's build file(jar file), nodejs -> project folder zip file . Please carefully read the instructions above Choose File before uploading the file.
How to upload a Java JAR file
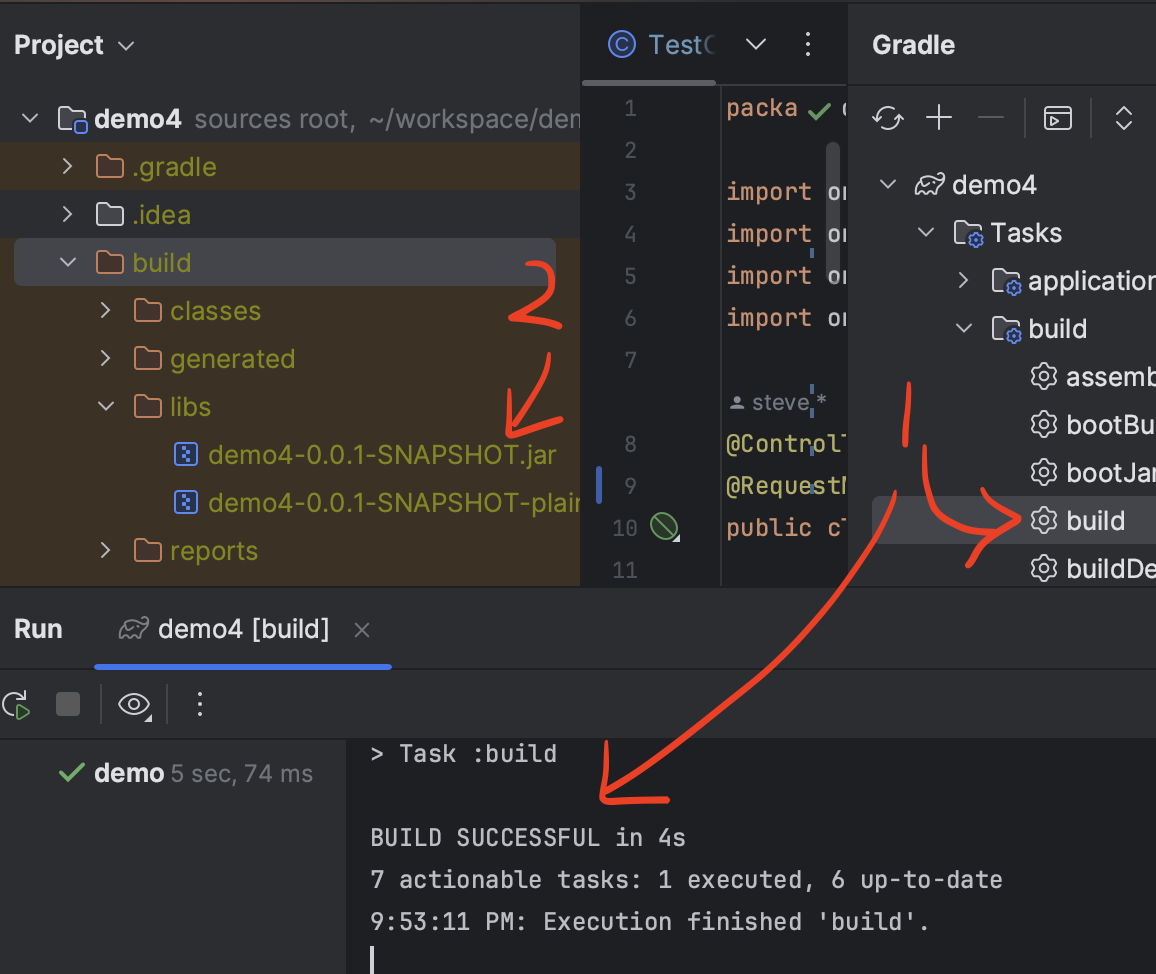
First, perform a Gradle or Maven build.
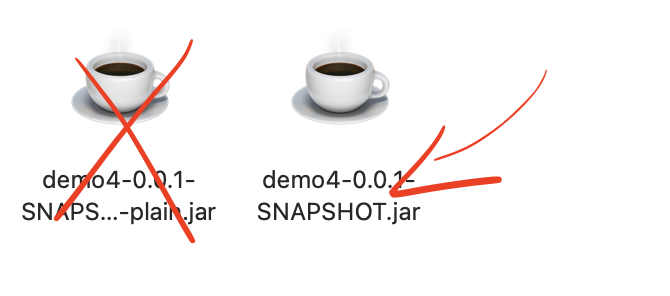
You just need to upload the JAR file without plain in the filename.
How to upload a Nodejs Stack(Expressjs, Reactjs, Nextjs ...) folder zip file
- First, navigate to the project root folder containing the package.json file.
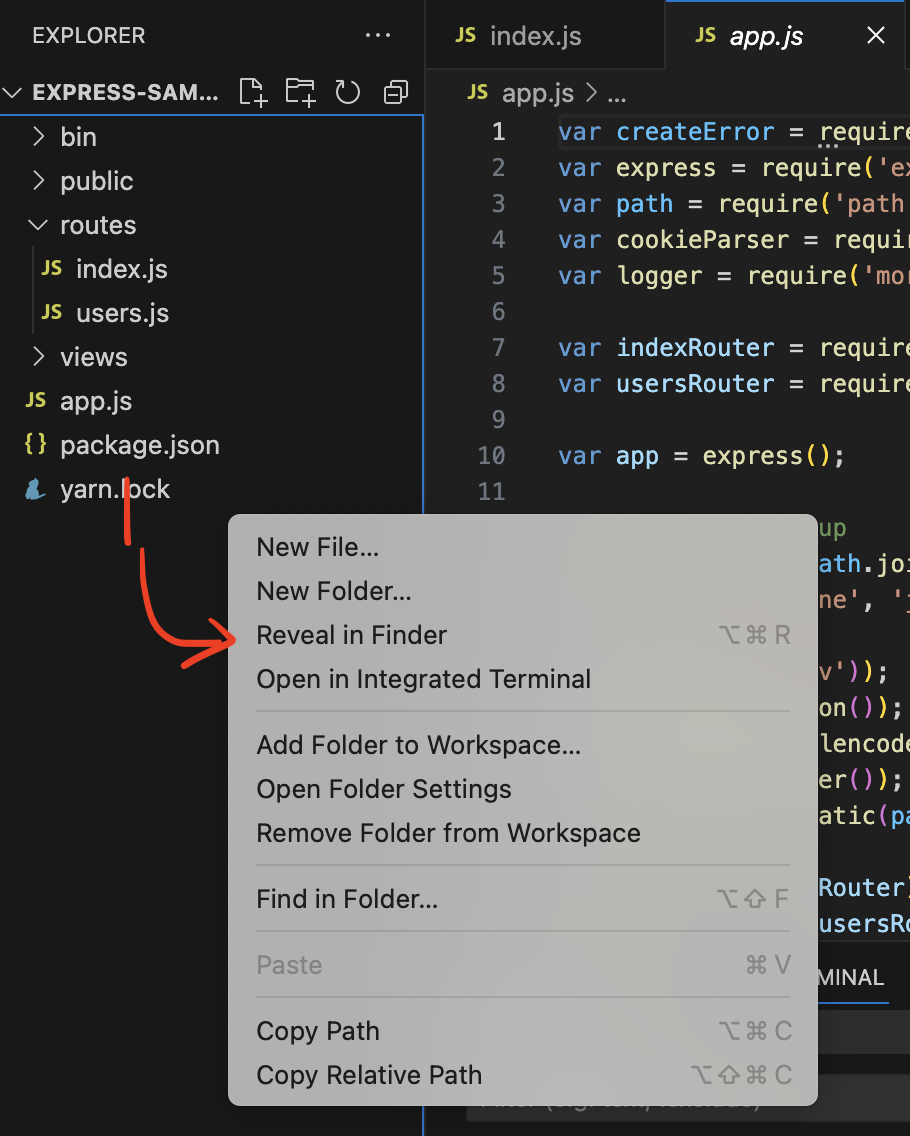
Drag all filesfrom the project root folder excluding the node_modules directory, thencompressthem into azip file
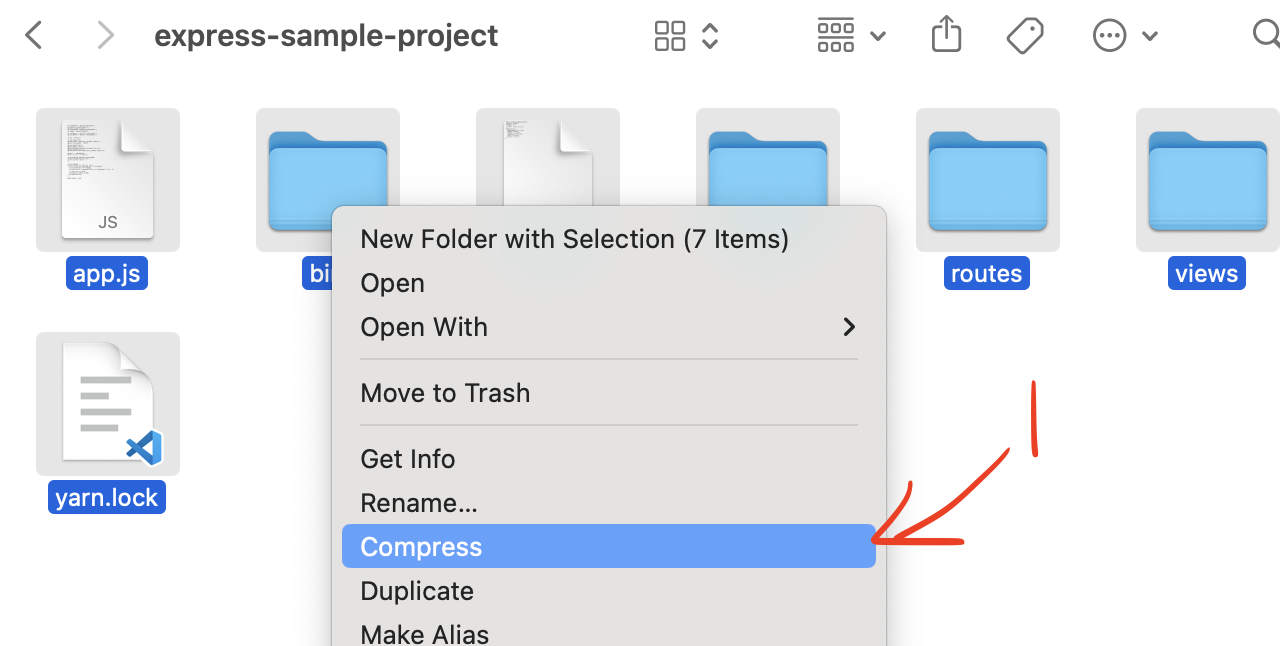
- Please upload the compressed zip file.
(9) Enter the port of the project to be deployed in the Target Project Port. The default port will be filled in if you selected the project stack above.
(10) Click the Create Project button.