How to use Frontend DMS
- After clicking the link below to access the SWS console web, proceed to log in to the AWS Turn Key Console.
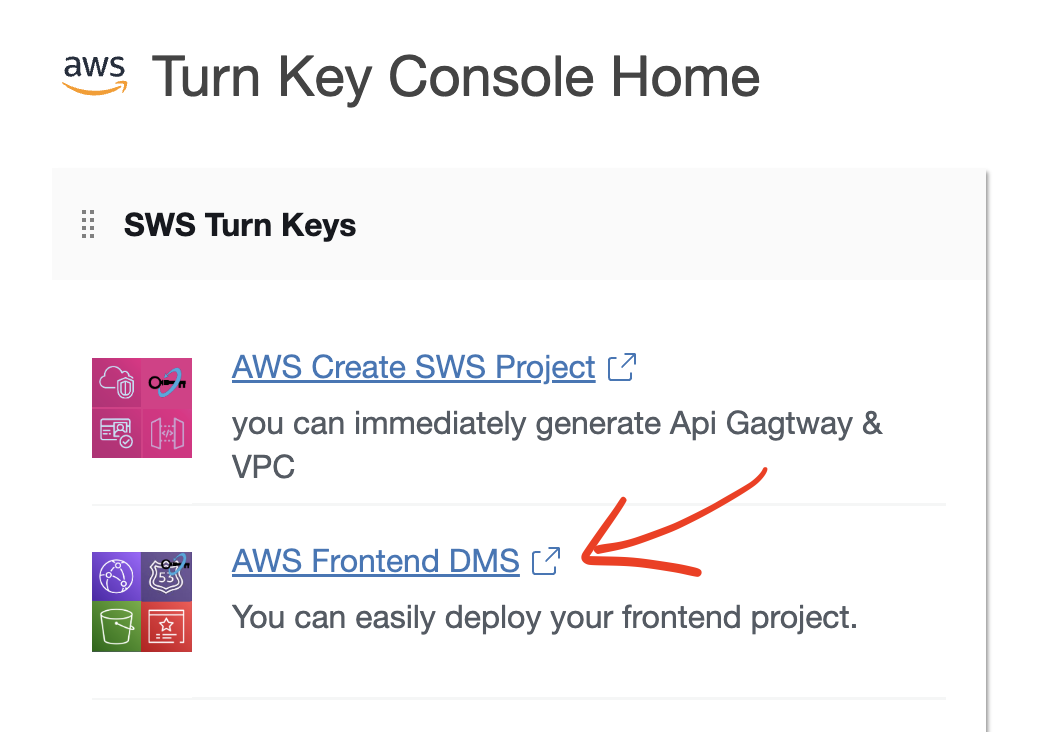
- Once you have accessed the AWS Turn Key Console, click on
AWS Frontend DMS.
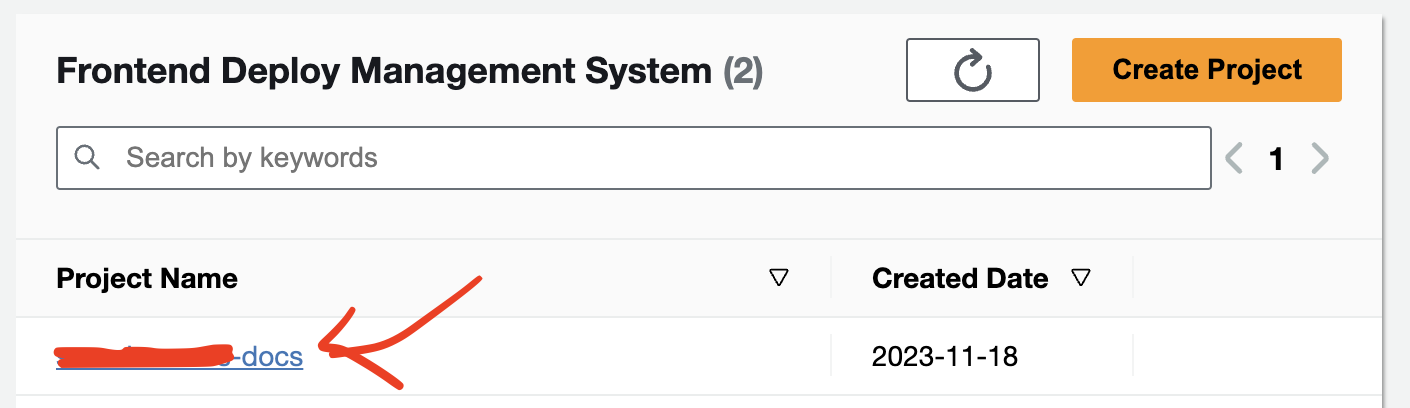
- click the
Create Projectbutton.
- The
Project Detailsprovide functionality to linkCloudFront,Bucket websitedomain redirection, and connect the domain purchased throughRoute53andSSL Certificate.
(1) Redirect to the CloudFront endpoint associated with the Bucket website endpoint.
(2) Redirect to the Bucket website endpoint.
(3) Select the list of domains purchased through Route53.
(4) Click the Go to purchase a domain in Route 53 button to navigate to the Route 53 dashboard. If you are unsure how to make a purchase, refer to the documentation on How to buy a domain with Route 53.
(5) Click the Create SSL Certificate button to link the SSL certificate of the selected domain with CloudFront. When the Status is ISSUED, Sub domain connections are possible.
(6) For example, if you want to create the domain docs.abc.com, enter docs in the subdomain name input and click the Connect Domain button. This will link the CloudFront Domain with the selected domain.
- The
Deploy Projectsection is a feature used to redeploy projects that have been deployed withFrontend DMS.
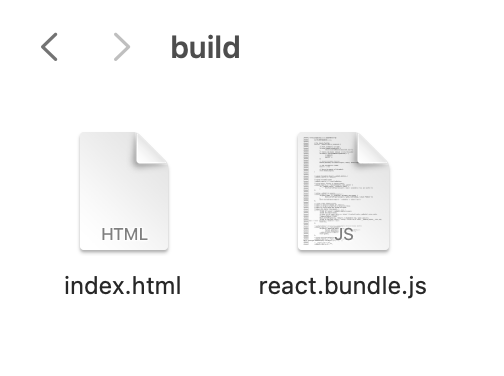
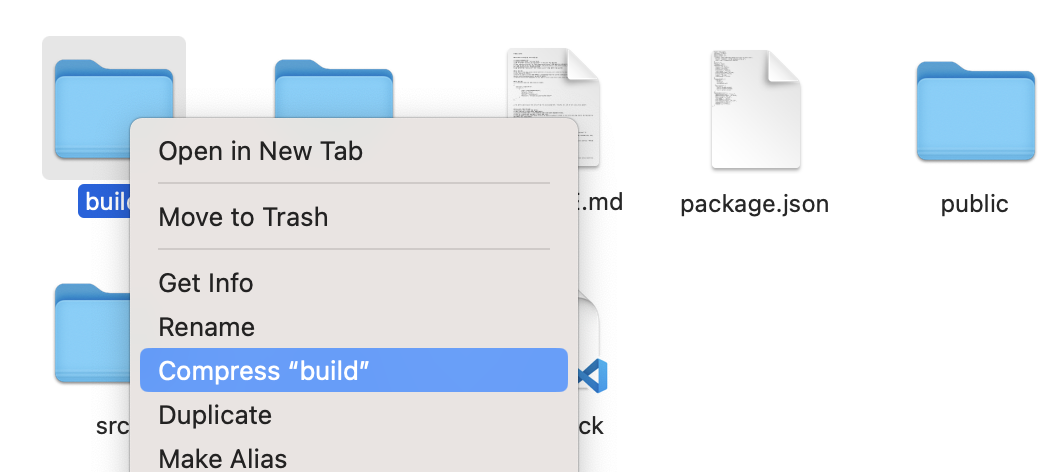
First, compress the build folder containing index.html and bundle.js into a zip file.
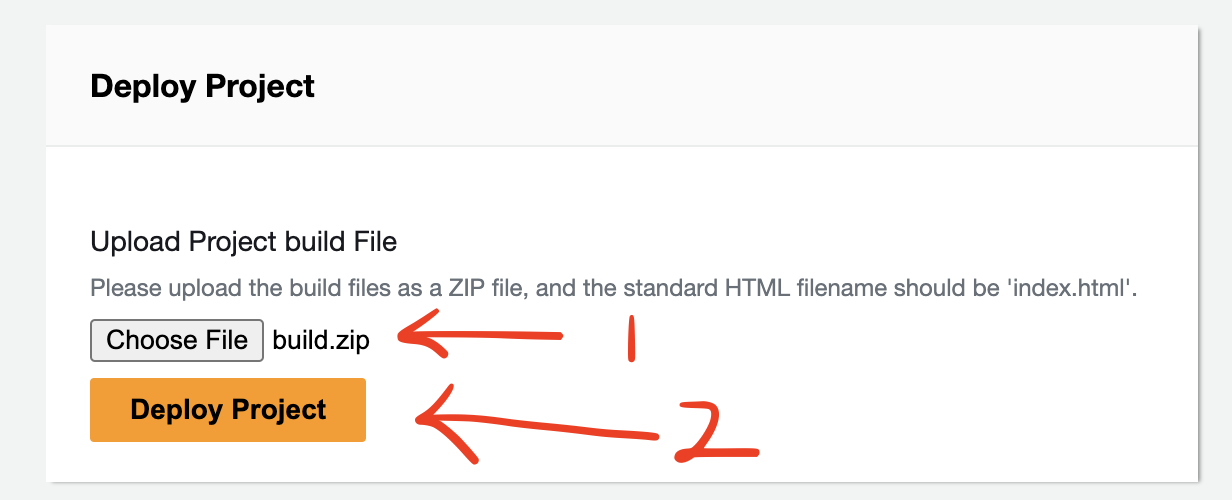
Next, upload the build.zip file using Choose File, and click Deploy Project. A loading screen will appear, and after waiting for about 5 minutes, the deployment will be complete.